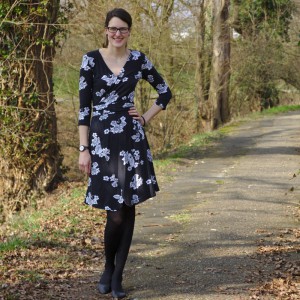
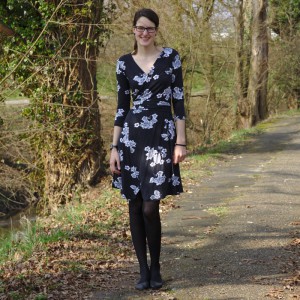
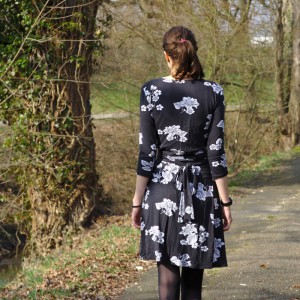
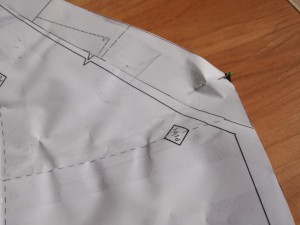
 It’s like I woke up one morning and had this idea in my head: I need a wrap dress! This is the answer to all of my questions! Okay, I think I have to give Karin and Jessica credit for putting this idea into my head, every week they show new beautiful versions of wrap dresses on their blogs! I could not resist any longer and started looking for patterns. Okay, spoiler alert: I did not just look ;)10 minutes after having this enlightened thought I found myself buying the Ultimate Wrap Dress by Sew Over It. I did not know Sew Over It and I cannot remeber how I found them, the picture of the dress just looked sooo pretty!
I have kept this fabric in my wardrobe for quite some time, I just couldn’t bear the thought of cutting it! But for this pattern it was the peferct match, I had no choice. I bought it on a flea market for fabrics in the Netherlands. I tell you, the dutch have the best and cheapest fabrics, ahhhh how I love Holland!
As the fabric was really keen (and I am veeery lazy) I didn’t make a muslin.
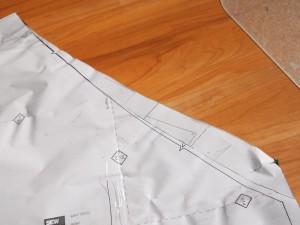
Judging from the envelope I thought there were two versions of the dress included in the pattern, but actually there is only one with long sleeves and a skirt length to the knees. I was kind of confused because I had to print two PDFs, but okay. The pattern pieces are far apart from each other. After printing I had a lot of sheets that did not have any use. There are no lengthen/shorten lines in the pattern, which I need as I am quite tall, I just lengthened the whole thing at the waist and at the lower end. Also I didn’t like the cleavage of the dress and changed it a little.
The finished measurement chart is kind of peculiar, nevertheless I choose size 10 according to my bust measurements and it fits great.
 Also I wondered about the facing, Why do I need facings when I work with knits? So I worked the cleavage seam as I am used to and not with facings.
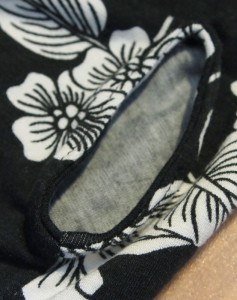
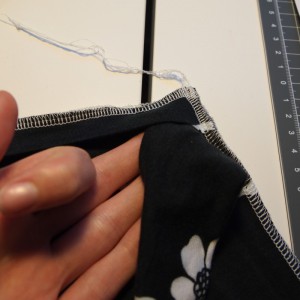
I was a little annoyed that the instructions have not been written for sewing with a serger. To finish the side hole I sewed the side seam with a serger leaving a gap somewhere at the waist.
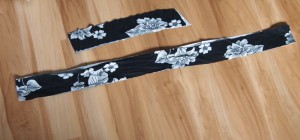
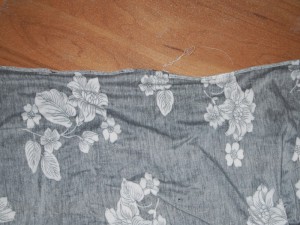 The I cut a piece of fabric, that had approx. the length of the perimeter of the gap. I sewed it right sides together at the shorter edge and turned it so that the wrong sides were inside. Than I serged that piece to the gap and topstiched it from the right side.
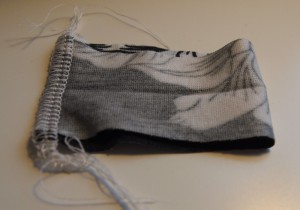
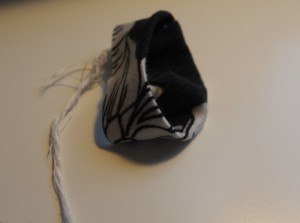
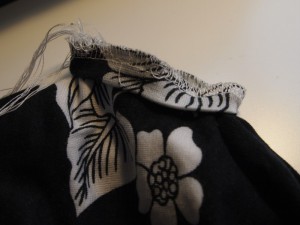 That worked fine for me but was a tedious work.
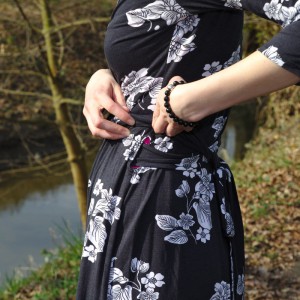 Instead of sewing the facings a sewed a rectangular piece of fabric to the cleavage which worked fine. I topstichted everything afterwards with a twin needle.
 I really expected better instructions for the price I payed for the pattern, I think this will be the last time I buy a SewOverIt pattern.
Nevertheless I really really like my new dress! :) Right now I can only wear it with undergarment as it is still could here and I have a fear of gaping when I am riding my bike to work.
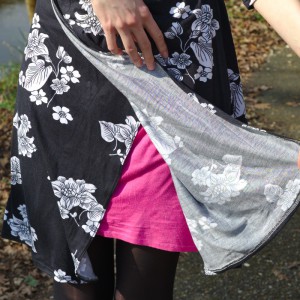 I think now that I have made all the changes I am going to sew me another one! :)
Katharina


