
 The ‘electric spinning wheel’ project is completed! I thought that Marvin and I would be done much much earlier, because it was so easy and straight forward to build the prototype. In retrospect it was pretty naive thinking that it would be easy to simply buy and install a faster and quieter motor. Live and learn ;) To keep this post as short as possible I will only write about the changes we made to the prototype design. You can find the post on the prototype here. This post also includes the Arduino code, a Fritzing schematic and a shopping list.And if you have any further questions or need a more detailed description of something just drop me an email or a comment and I will try my best to help you out :)

I made another trip to the hardware store after finishing the prototype. I bought another wooden strip, spray paint, saws, door knobs, springs and screws. I had bought the wooden box we used for the prototype twice and the holes we drilled into the box are almost in the same position the holes in the prototype were.
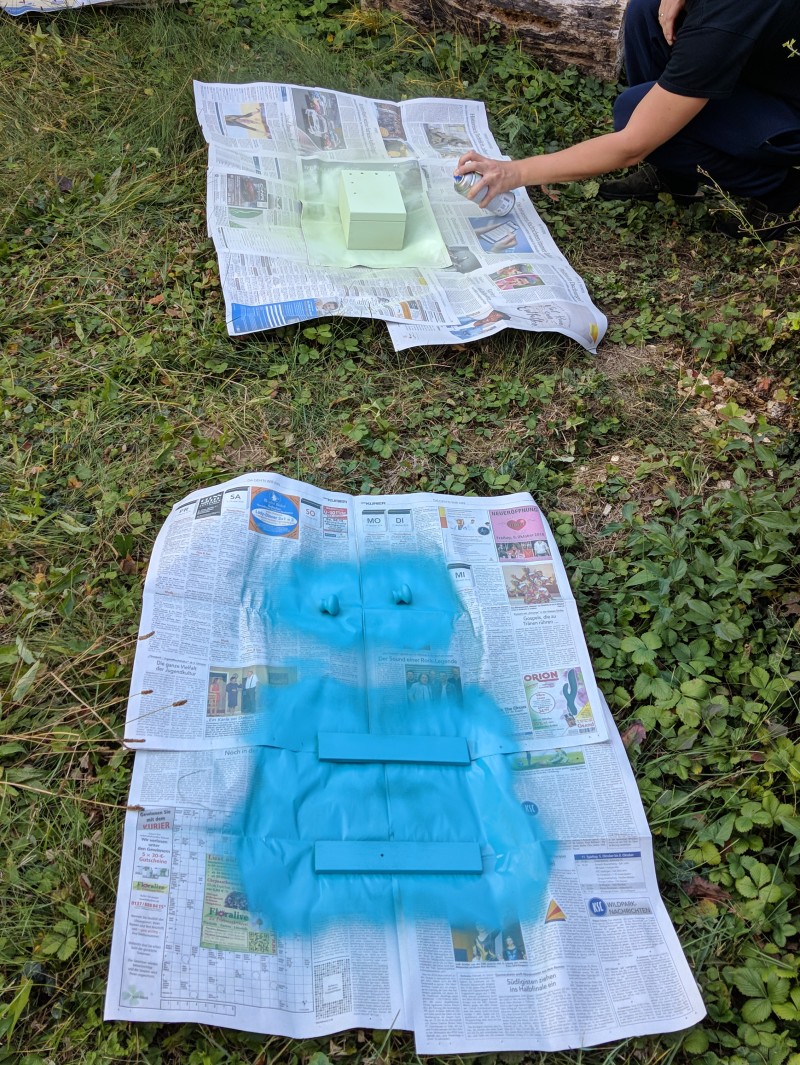
Marvin painted all the wooden parts with spray paint. I bought a more powerful dc motor, without gear this time and I also ordered a mount for it. Everything was assembled pretty quickly, but the first test showed that the flyer started with full speed just to get slower and slower with every second that passed and finally stopped. Marvin then realized that the motor driver got extremely hot and after 30 minutes of googling we knew that the L298N motor driver only delivered a maximum of 2 Ampere. And it only delivers those 2 Amperes for a very short amount of time. So the 2 Ampere power supply would not have been necessary because the motor driver was not able to draw them. And that also meant that the motor I had bought was constantly trying to get more power from the motor driver than the motor driver was able to deliver, what caused the overheating. Another issue we had with the motor was that it needed at least 9V to start turning.
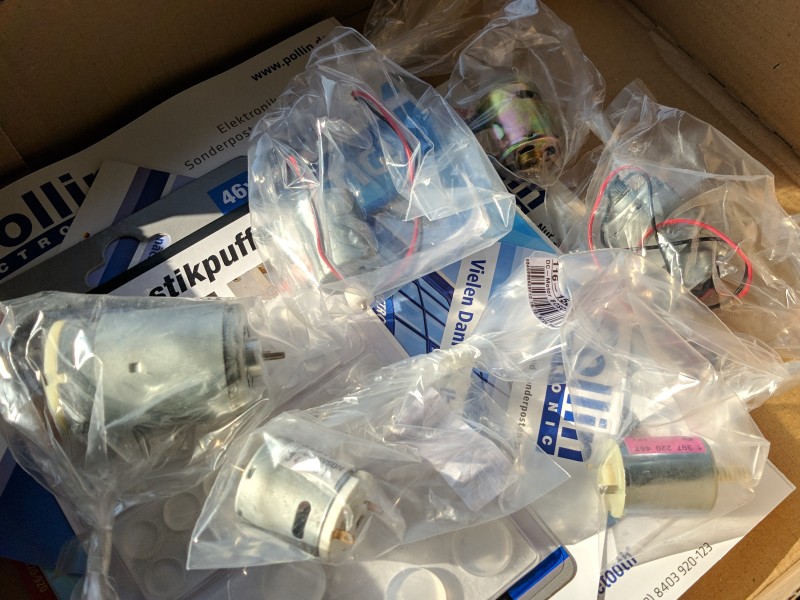
So we ordered lots of motors. There is a German online shop that sells kind of special motors nobody wanted for very little money. We ordered motors that all had around 8000 rpm without load. Their operating voltage started at at least 3 V and we variegated the current they needed. Because we didn’t know if a motor with a maximum current under full load of 2 Ampere would be powerful enough to turn the flyer.
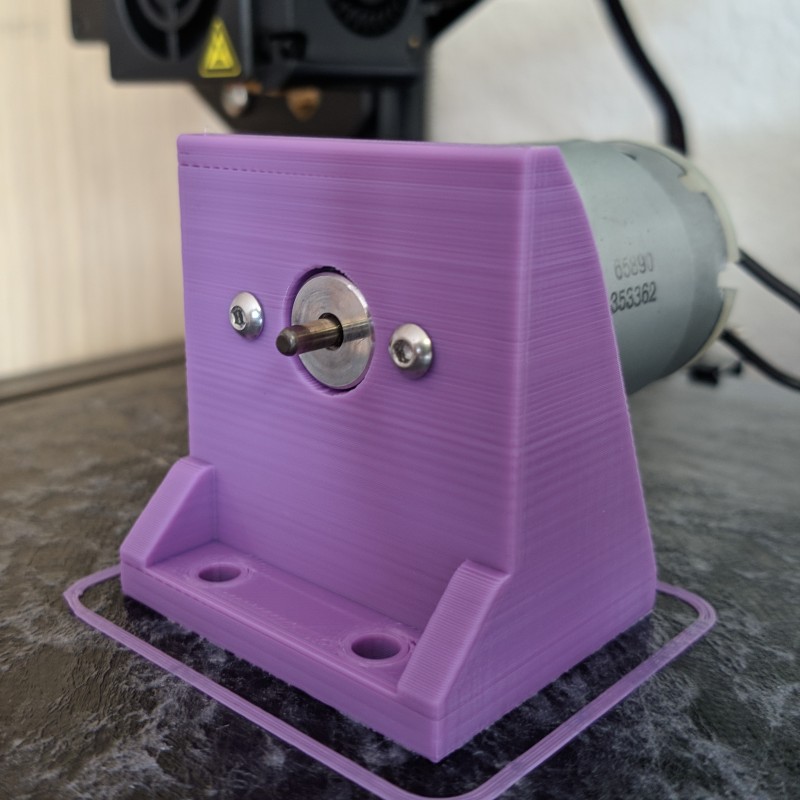
We tried all the motors and found out that a motor with a maximum current under 2 Ampere was not powerful enough. But motors that were more powerful caused the L298N to overheat. So I looked for another more powerful motor driver and found the IBT-2 that delivers 43 Ampere at max, the motor we chose draws 8 Ampere at max. We had this 2 Ampere power supply so we were not sure whether or not we would have to buy another power supply, but it turned out that is was more than enough. Using another motor driver also meant changing the wiring. The L298N had a built in voltage regulator, the IBT-2 did not and so we had to buy one to power the Arduino with the same power supply but with 5V instead of 12V. Luckily I found a wiring that allowed me to not change the code ;) The mount did not fit the new motor. During the project Marvin bought a 3D printer and printed a mount for the motor. He designed it in a way that we were able to use the holes Marvin had drilled for the old mount. He’s the best! He also built a wooden motor mount before that that worked very well too. The 3D printed version looked a lot nicer though.
Here’s the whole story in pictures:
-
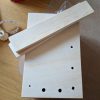
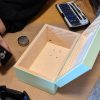
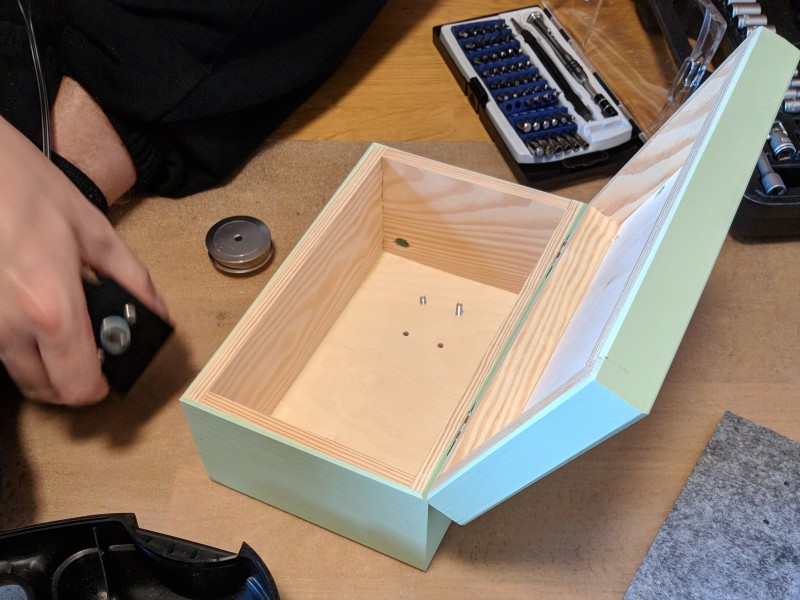
- Unpainted box

-
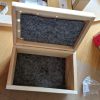
- Lining of the box

-

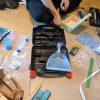
- During spray painting
-
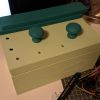
- After spray painting
-
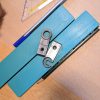
- Flyer bearings

-
- During construction

-
- Drilling the holes of the mount
-
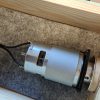
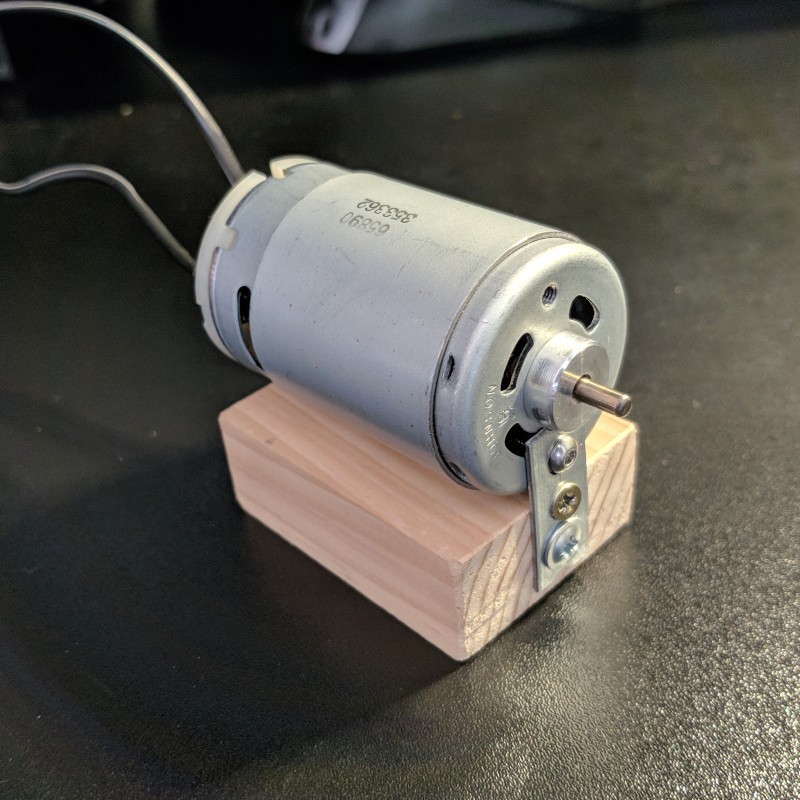
- Old powerful motor
-
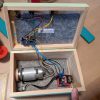
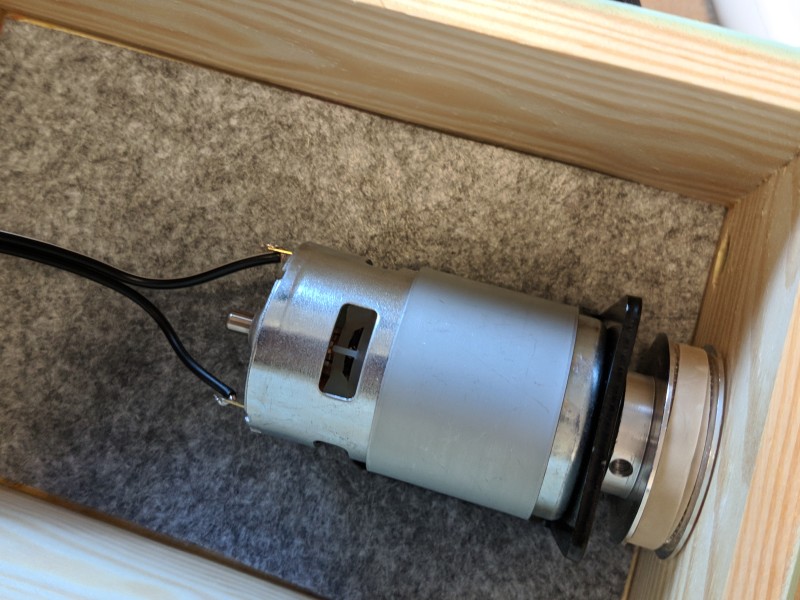
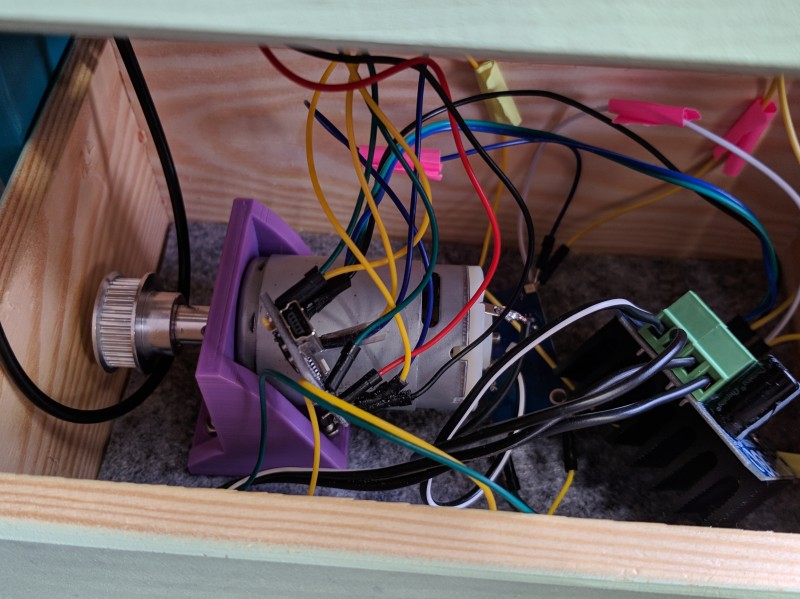
- Inside before th first test failed

-
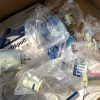
- We ordered some motors..
-

- Wooden mount
-
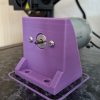
- 3D printed mount
-
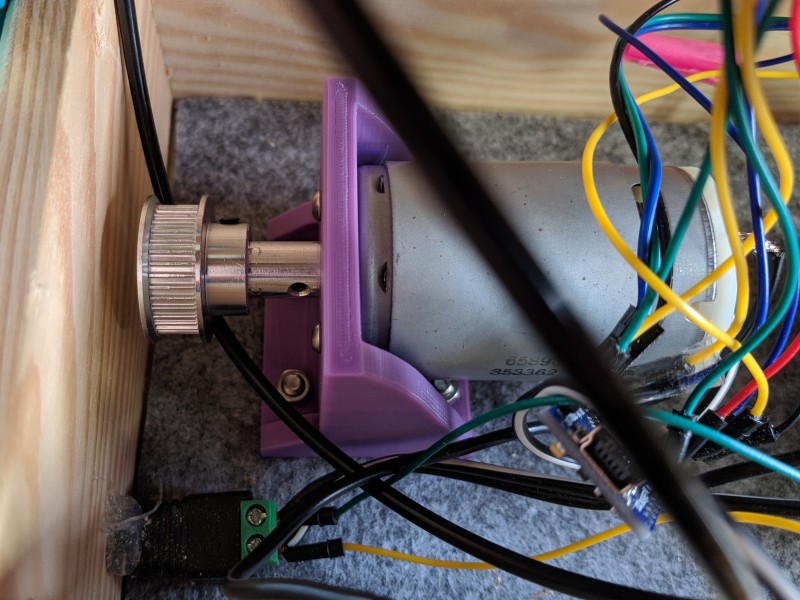
- New pulley
-
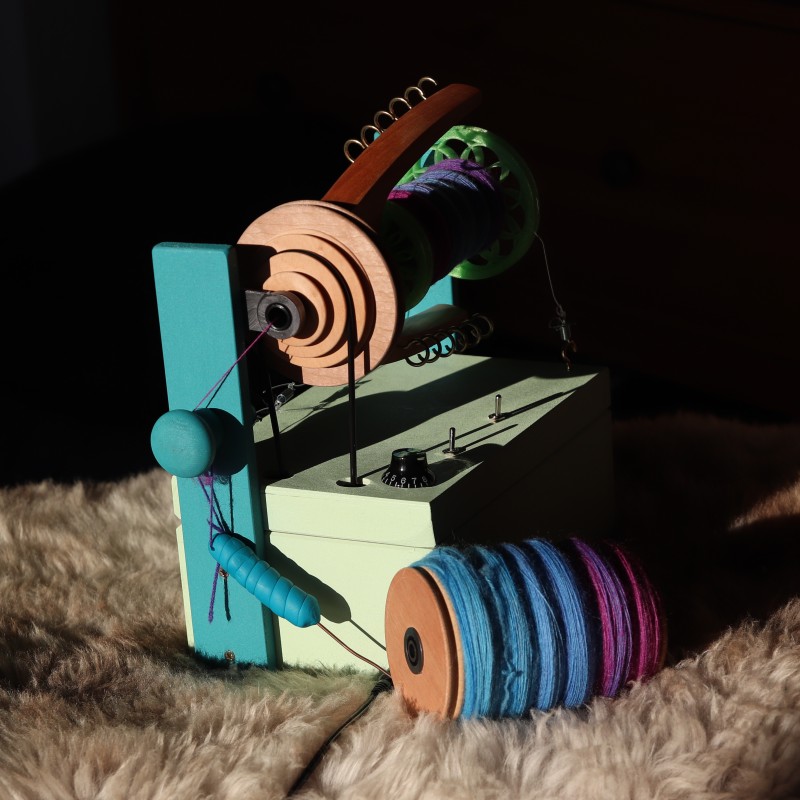
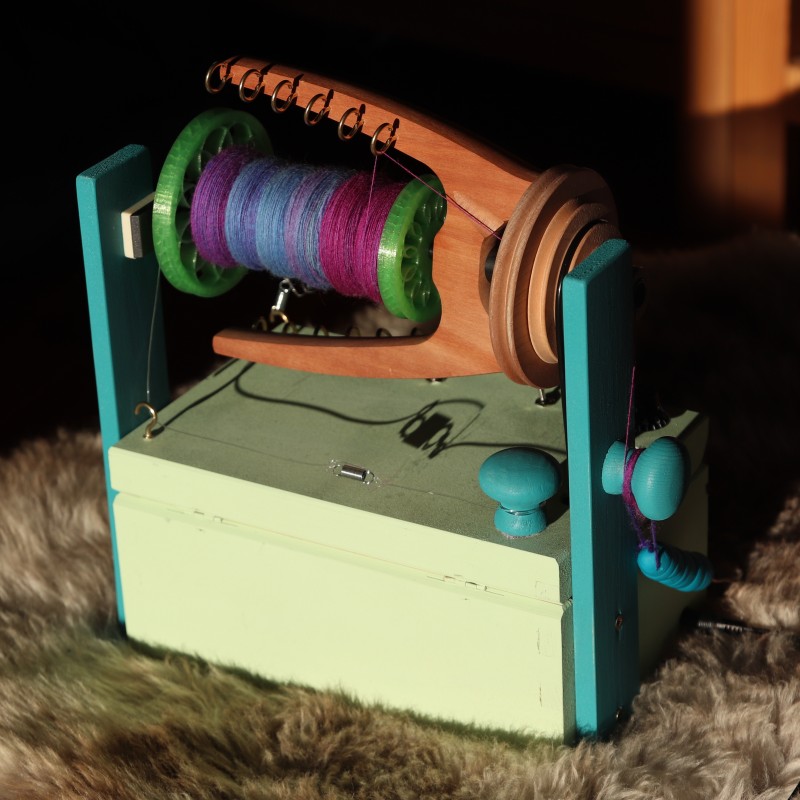
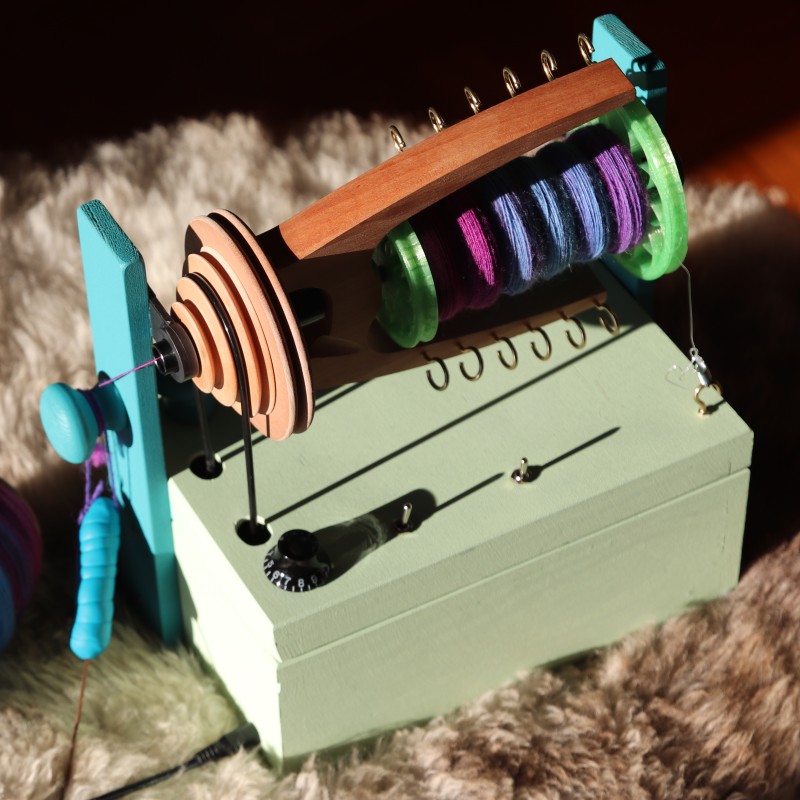
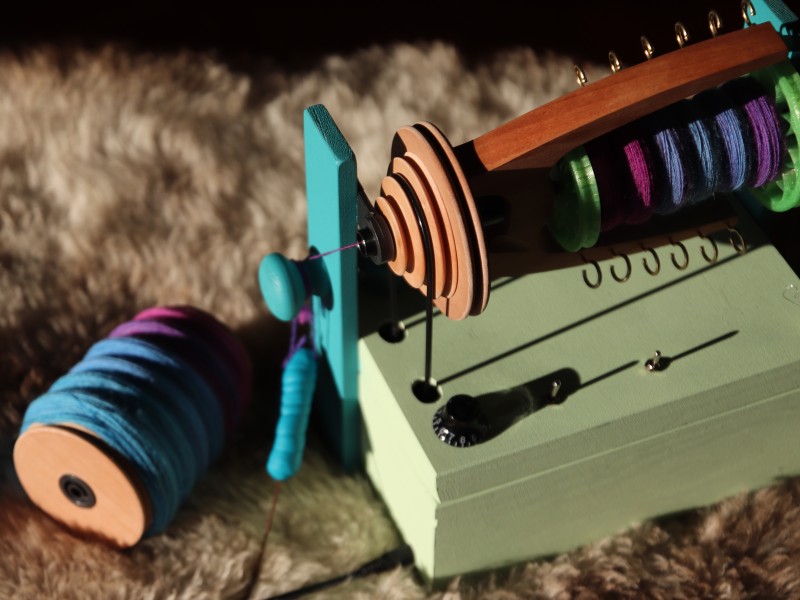
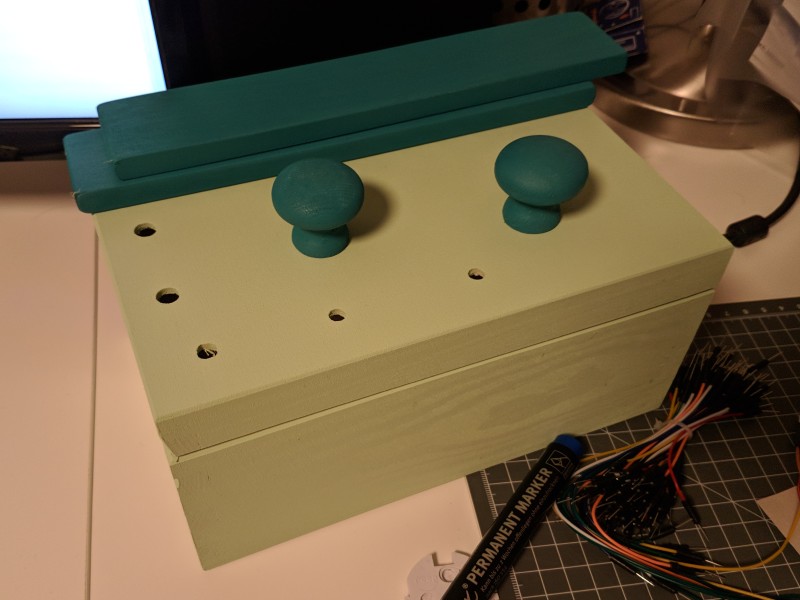
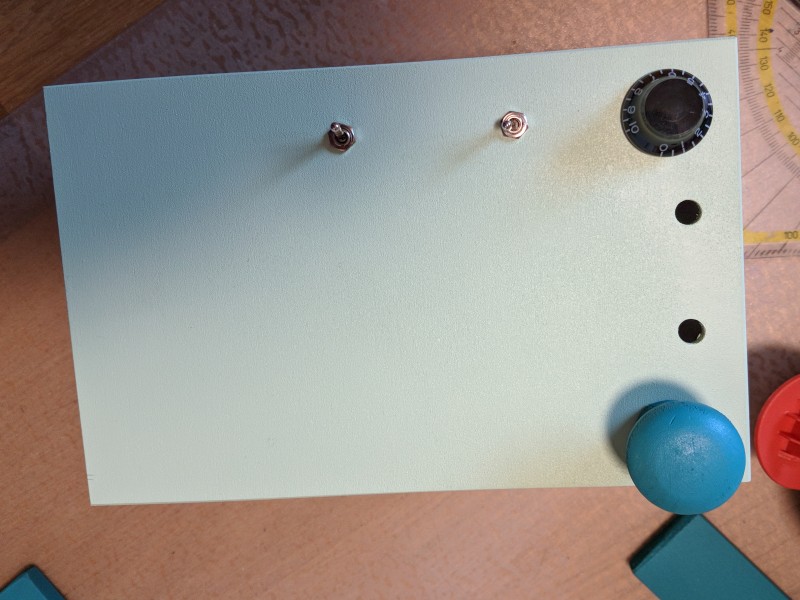
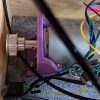
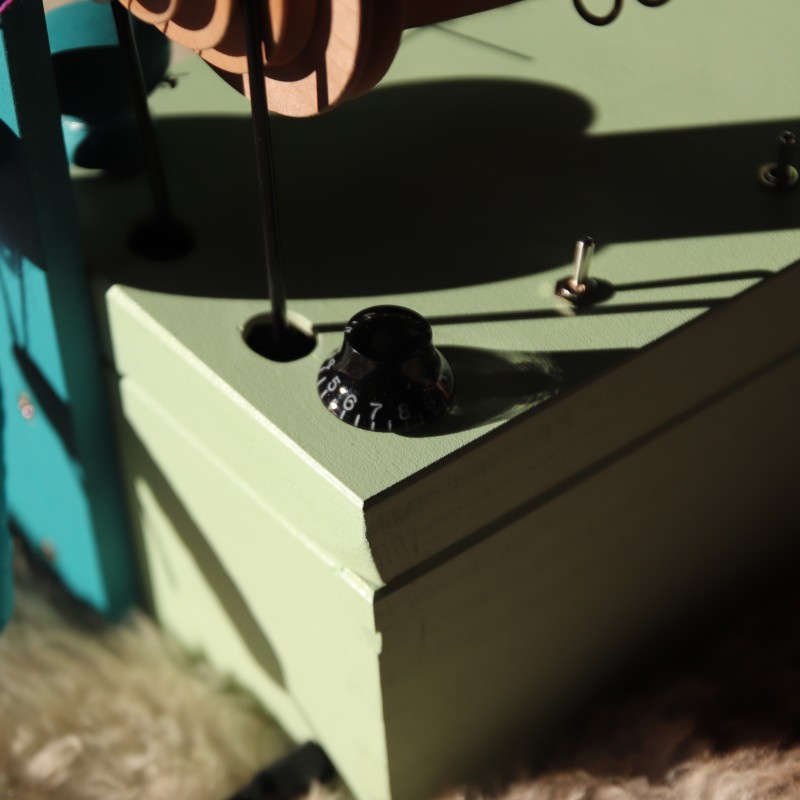
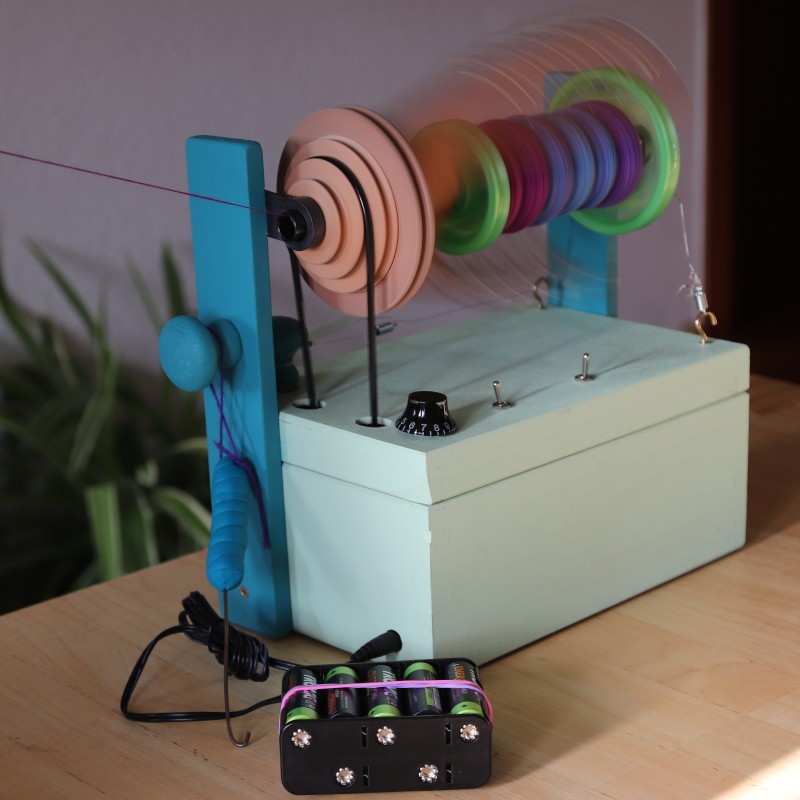
- Final installation
Here’s the shopping list:
- 1 wooden box 138 x 215 x 100 mm (could have been 1 cm shorter (205 mm) 5 €
- 1 wooden strip 40 x 8 x 900 mm 2 €
- 2 furniture knobs diameter 33 mm 2,90 €
- 2 toggle switches (MTS-101: 1-pole, 2 legs) 1,20 €
- 1 motor driver IBT-2 (2 BTS7960 chips) 11,49 €
- 1 12 V dc motor Johnson 65890 (operating voltage 1 – 13,5 V, current draw idle run 0,58 A maximum 8,5 A, 8000 U/min (idle), 4000 U/min (maximum)) 0,90 €
- 1 pulley (GT-2 36 teeth) + shaft coupling 9,50 €
- 1 Arduino Nano 4,75 €
- 1 power supply 12 V 2 A 8,99 €
- 1 potentiometer (10.000 Ohm) 0,90 €
- 1 voltage converter LM2596S 1,40 €
- 1 potiknob 2,20 €
- 1 motor mount self built
- 1 Ashford Standard Flyer 42,50 €
- 2 additional bobbins 15,80 €
- 1 Ashford brake band set 1,50 €
- 1 Ashford threading hook 1,90 €
- 1 drive cord 8 €
- 1 flyer bearing standard set 2,60 €
Total: 123,53 €
We needed the shaft coupling because the motor shaft was super small and couldn’t find a pulley that fit.
The whole project was designed under the premise that we didn’t have access to a 3D printer. Now we have and we’re planning on building another espinner from 3D printed parts. I already designed a flyer! :) But that is something for another post another time.
In reality we spent a lot more of course. We bought a lot of motors and pulleys, tools and work material.

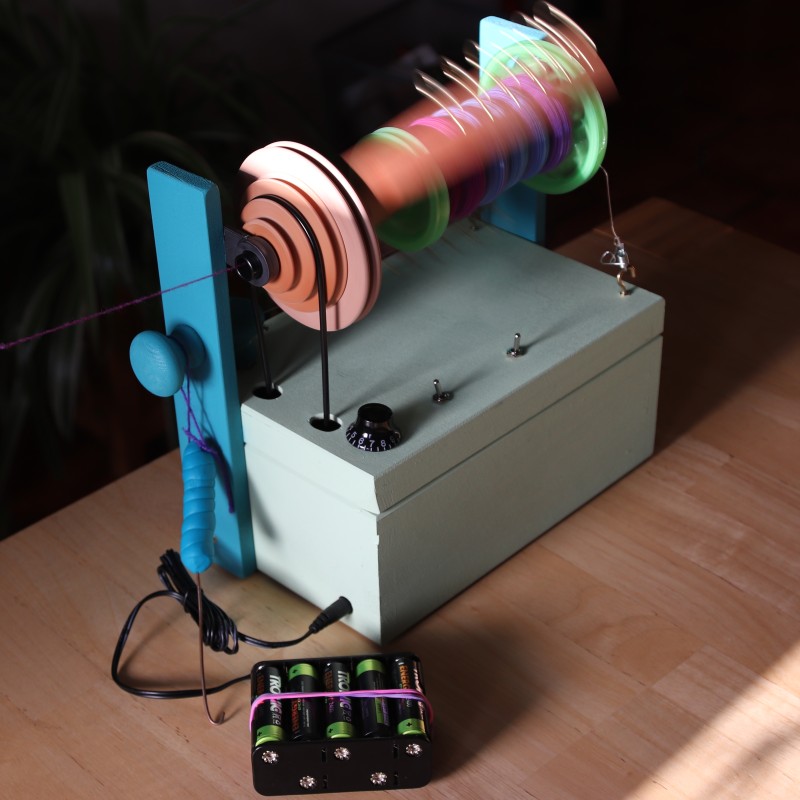
And I wanted to buy a power bank to go compliment fishing at my local spinning group (which worked pretty well :D). But when I went looking for power banks with an output of 12V and 2A I found out that they started at 100 € and I wasn’t willing to spent that much. Marvin hat the idea of buying a simple battery holder that can hold 10 1,2V rechargeable batteries and I even found one with the right port. I spent 4,50 € on the battery holder and 12 € on batteries (2400 mAh) and I can spin 3 -4 hours before I am out of juice.
And here’s the Fritzing schematic. Everything was already soldered when we realized we needed a new motor driver. So the voltage converter is connected directly to the motor driver, which works, but usually you would connect the motor driver to the Arduino and the Arduino to the voltage converter, I think.
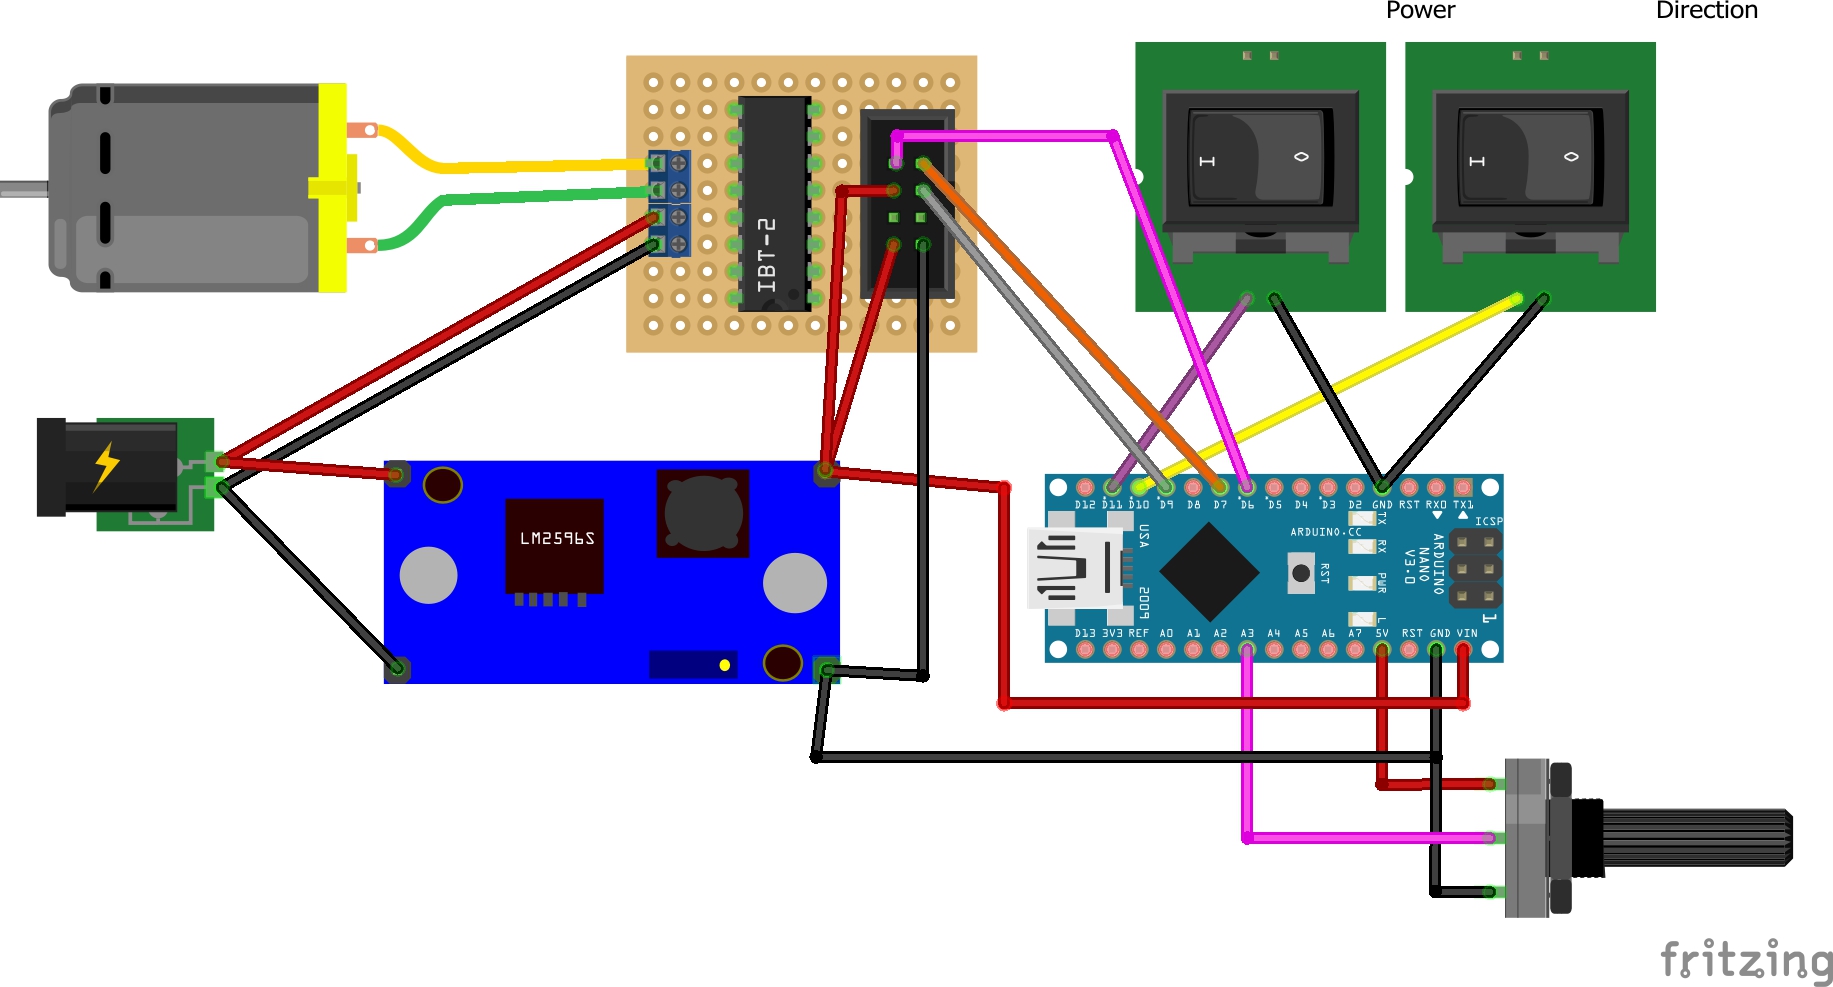
The code is not exactly the code that runs on my Arduino. my motor was to fast and so I reduced the motor speed in my code. I also wired the potentiometer incorrectly and changed the code to account for that. But the schematic and code should now work together correctly. And if you order a similar motor to mine you might want to reduce the motor speed as well.
#define motorSpeed 9
#define direction1 6
#define direction2 7
#define powerIn 11
#define potiIn 3
#define directionIn 10

int currentSpeed;
int rotationDirection;
int delayTime = 15;
int speedStep = 1;
bool powerOn = false;

void setup() {
  pinMode(motorSpeed, OUTPUT);
  pinMode(direction1, OUTPUT);
  pinMode(direction2, OUTPUT);
  pinMode(powerIn, INPUT_PULLUP);
  pinMode(directionIn, INPUT_PULLUP);
  pinMode(potiIn, INPUT);

  // change pwm frequency to prevent motor
  // from making squeaky noises at slow speeds
  setPwmFrequency();
  // initialize motor
  powerOn = false;
  setRotationDirection();
}

void loop() {
  checkRotationDirection();
  if (digitalRead(powerIn) == HIGH) {
    currentSpeed = analogRead(potiIn) / 4;
    if (!powerOn) {
      softStart();
      powerOn = true;
    }
    analogWrite(motorSpeed, currentSpeed);
  }
  else if (powerOn) {
    softStop();
    powerOn = false;
  }
  delay(50);
}

void checkRotationDirection() {
  if (digitalRead(directionIn) != rotationDirection) {
    if (powerOn)
      softStop();
    setRotationDirection();
    if (powerOn)
      softStart();
  }
}

void setRotationDirection() {
  rotationDirection = digitalRead(directionIn);
  digitalWrite(direction1, rotationDirection);
  digitalWrite(direction2, 1 - rotationDirection);
}

void softStart() {
  int startSpeed = 0;
  while (startSpeed < currentSpeed) {
    analogWrite(motorSpeed, startSpeed);
    delay(delayTime);
    startSpeed += speedStep;
  }
  analogWrite(motorSpeed, currentSpeed);
}

void softStop() {
  int startSpeed = currentSpeed;
  while (startSpeed > speedStep) {
    analogWrite(motorSpeed, startSpeed);
    delay(delayTime);
    startSpeed -= speedStep;
  }
  analogWrite(motorSpeed, 0);
}

void setPwmFrequency() {
  byte mode = 0x01;
  TCCR1B = TCCR1B & 0b11111000 | mode;
}
I am very happy with how the spinner tuned out and the process was fun almost all the time. It got a little frustrating once we knew what the problem was and couldn’t find the right hardware. The spinner is pretty fast, faster than I would need right now, but I bet I will become a faster spinster in the future ;). It is also much quieter than I would have thought. The motor is quieter than the flyer and the bobbin and you really do not hear it. I can spin and watch the telly without having to turn up the volume (noise test passed! :D)
 And the bobbin! We printed it on the new 3D printer :) I downloaded the script on Thingiverse. The design needs some adjustments, the bobbin grinds at the bearing (with the bearing? on the bearing? :D). I’m thinking about writing a blog post on the things I printed so far and I could ask Marvin to write a few words on the printer and how to set it up. Would you be interested?
If you have any questions or need assistance please feel free to write me and I will try to help you. I would love to see some more hand made e-spinners out there! :)
Macht’s gut!
Katharina
So impressive! Nice work!
Thank you :)
Awesome!!!! This is so very cool!!! You and Marvin must have had such fun pulling this puzzler together and feel a lot of pride in its success!! :)
Thank you Lisa, we had lots of fun :)