
 I stabilized the button bands of my newest knit cardigan and I remembered to document it, yay! Button bands always tend to wear out, I realized that very soon after knitting my first cardigans. I started stabilizing my buttonbands with petersham, Lauren has published a great tutorial on her blog that explains how that is done. I improved that technique for myself by using fabric instead of petersham, because I think that looks much neater.
I remembered to take pictures when I was halfway through the stabilization, grr, but I soon decided to knit another cardigan just to demonstrate the whole thing to you, it’s always nice to have an excuse to buy new yarn and knit another cardigan ;)
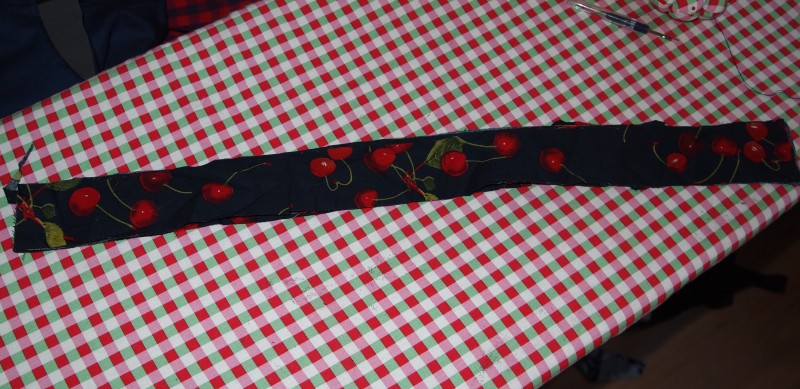
Before you start you should prepare your sweater according to the instructions of your sweater i.e. blocking it. Then you measure the button bands. Try not to stretch them too much. I always add 1 cm of seam allowance to every side of the button bands. I then cut 4 stripes that are as wide as the button bands + 2 cm of seam allowance, and as long as the button bands + approx. 5 cm. I once interfaced the stripes, but the result was too stiff for me.
Now I sew 2 stripes right sides together with 1 cm seam allowance at two long sides and one short side (one short side stays open). I finish the seam allowances.
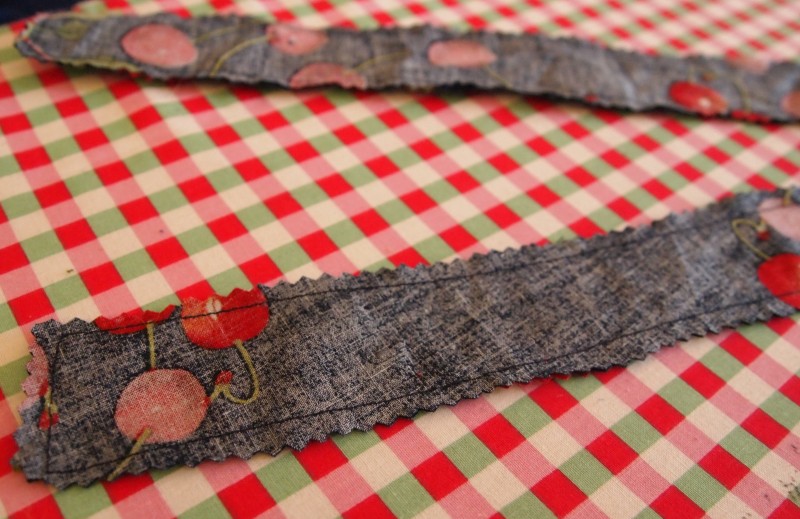
I turn both tubes inside out and press them.
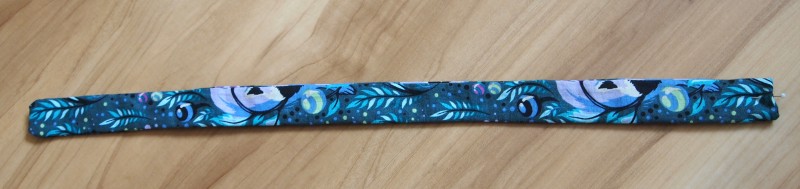
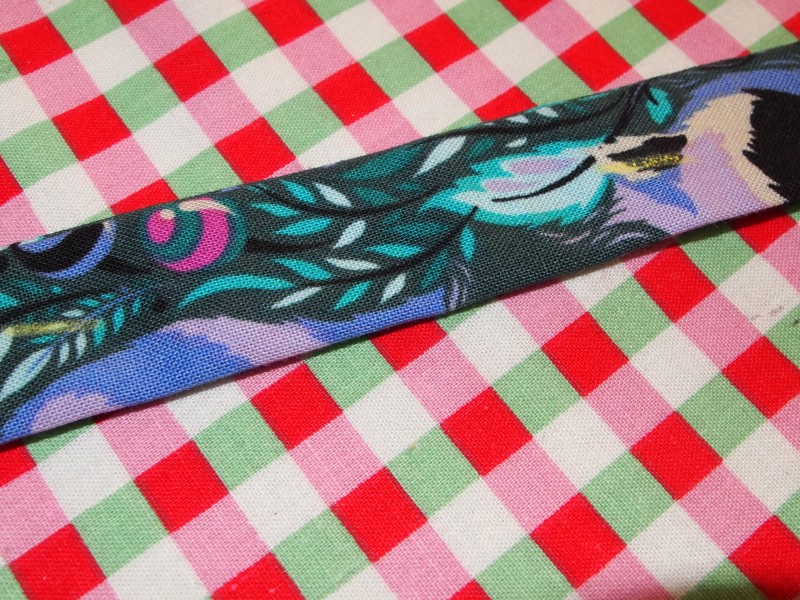
The short side now needs to be turned inside, so that the whole band is as long as the button band and everything looks neat.
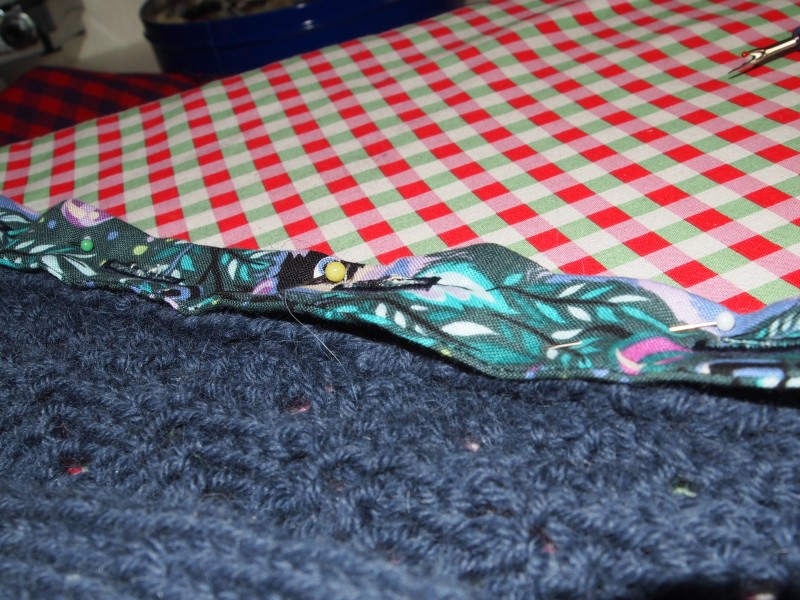
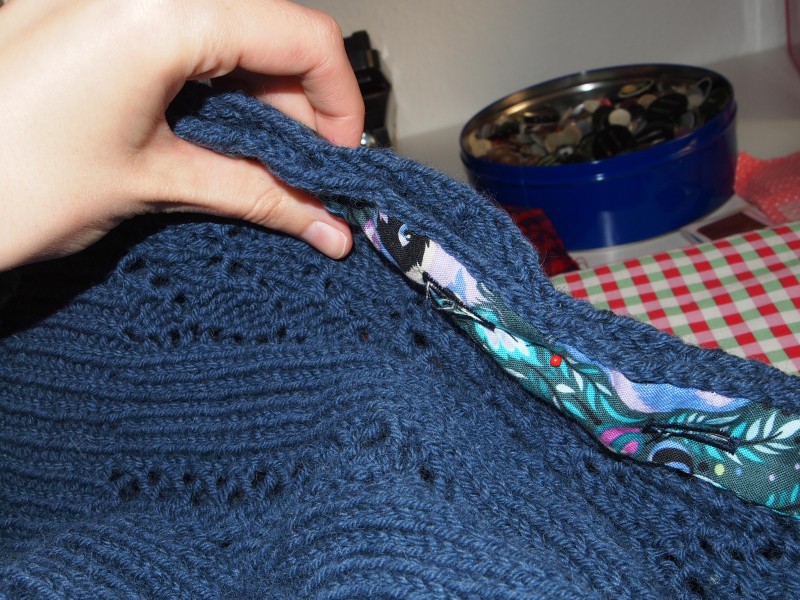
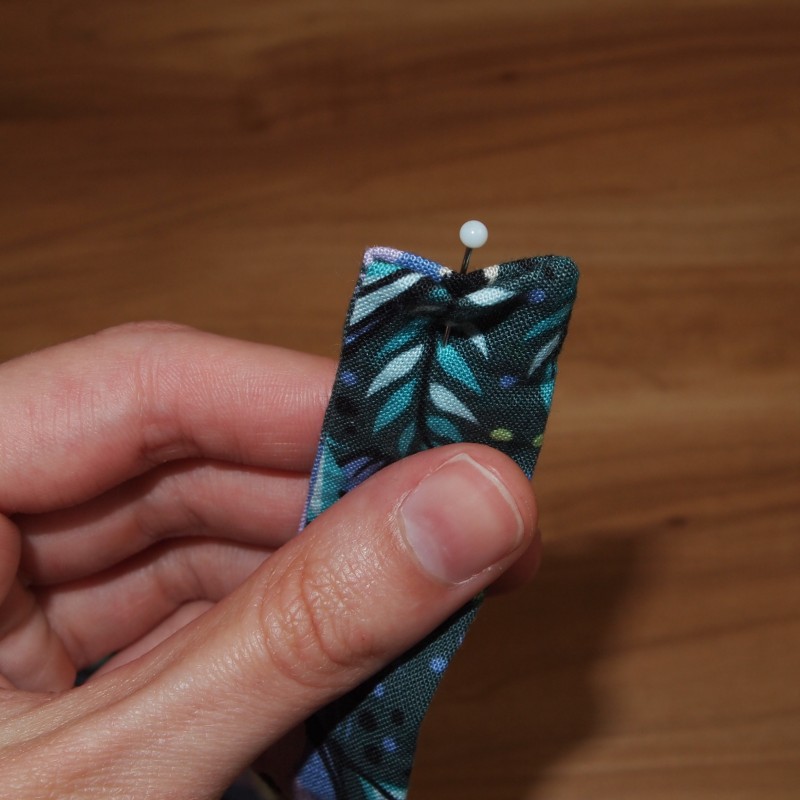 I pin one band to the buttonhole band and I mark where the button holes have to be.
 This will look like that:
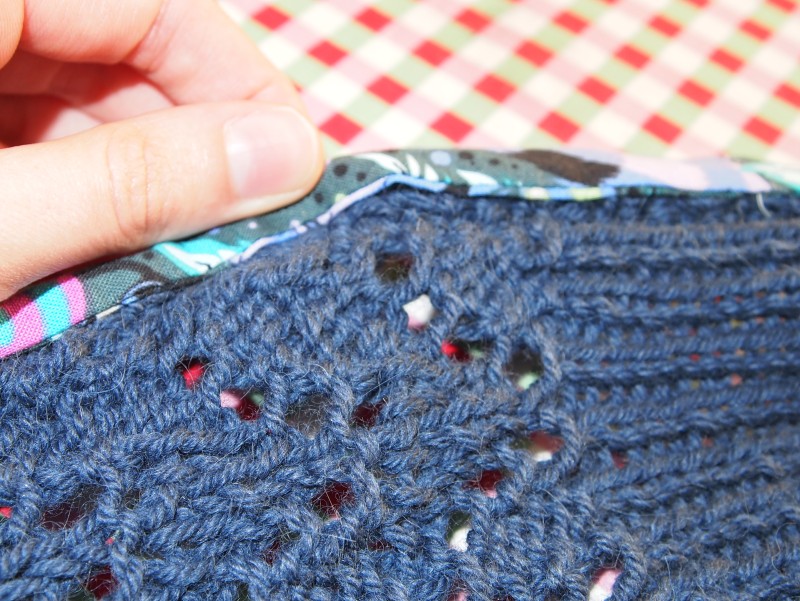
 Now I work the buttonholes with my sewing machine at the places I marked earlier and cut them open.
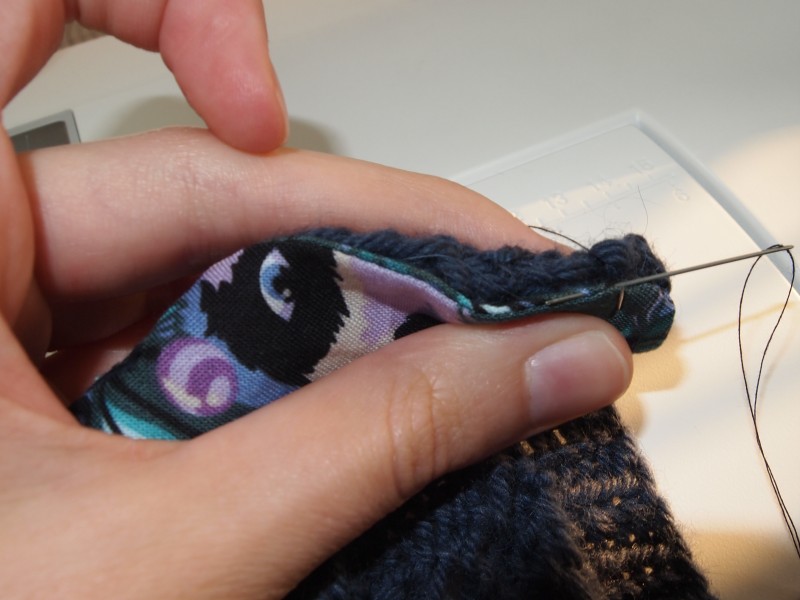
 Now it is time to sew the bands to the cardigan. I pin them down, making sure that the buttonholes of the band meet the buttonholes on the cardigans button band, and use an invisible slip stitch to sew them together along the outer sides. I do not sew around the buttonholes and this works fine for me :)
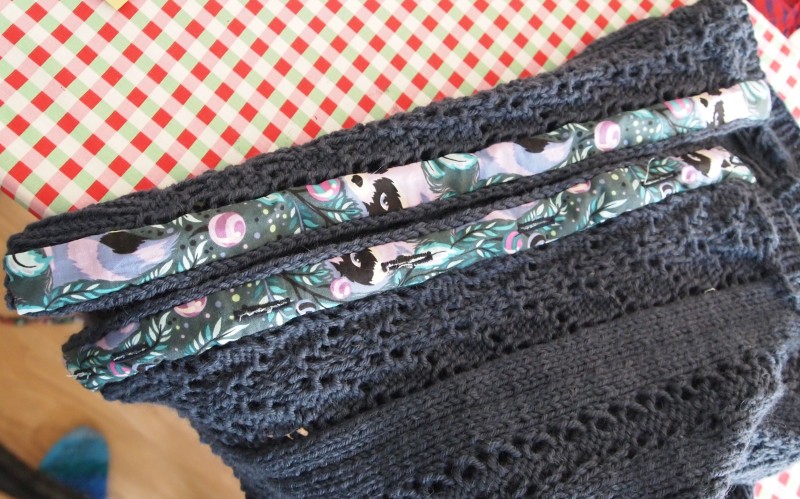
 This is how that looks when it’s finished:
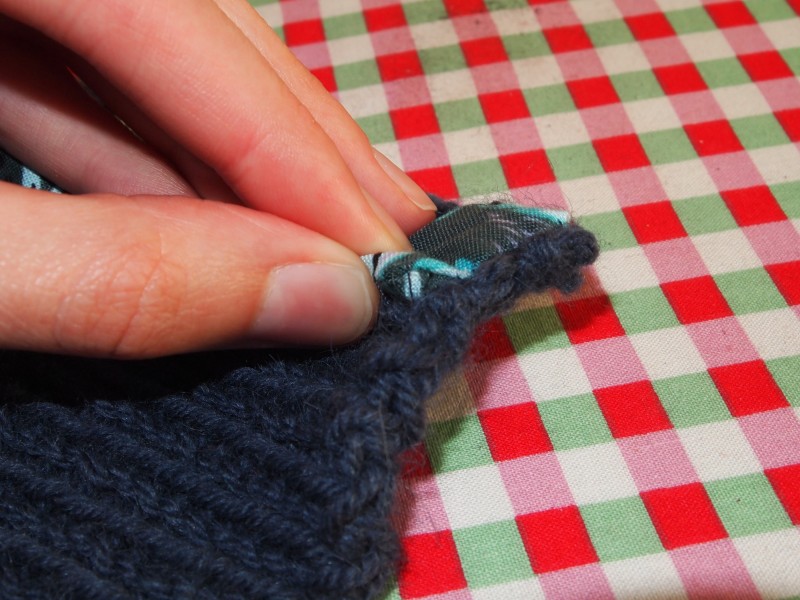

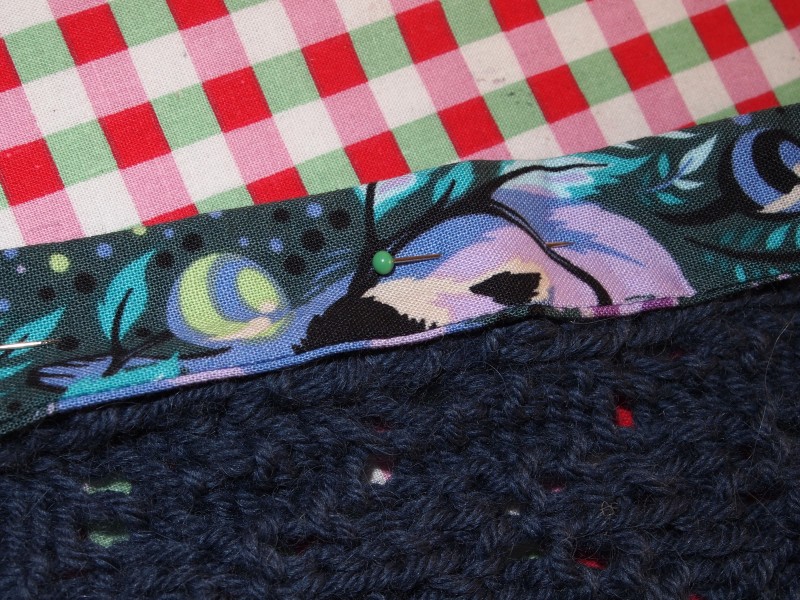
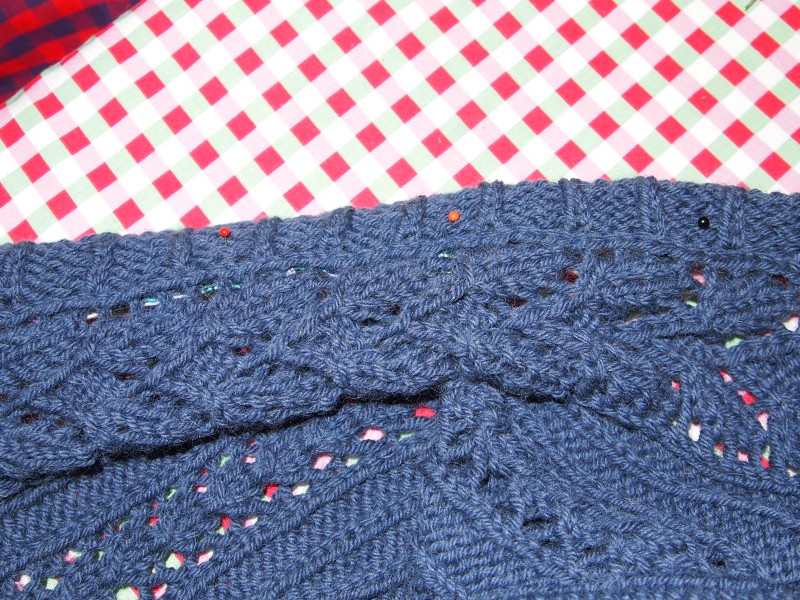
To apply the buttons I pin both button bands together and use pins to mark the places where the buttons have to be.
 I use pins that I pin through the buttonholes and into the button band to mark the right places.

I like to sew the buttons with my sewing machine, but if you prefer to do that by hand this will of course also work fine :)
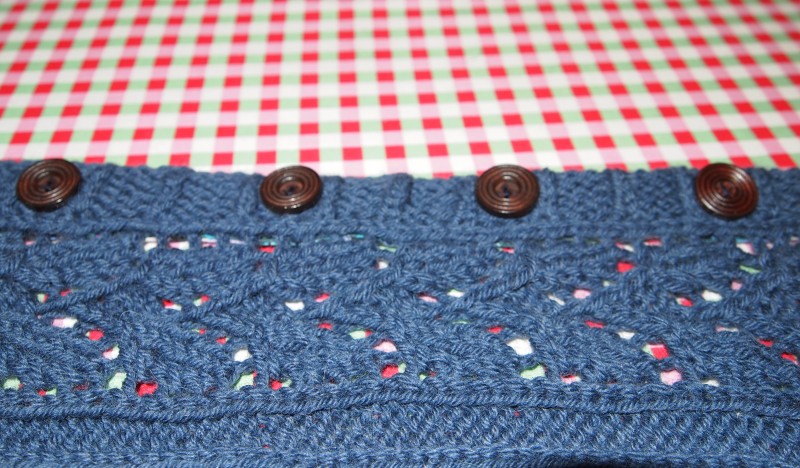 And we’re done :)
If you’re having any questions don’t hesitate to ask me, I’d love to help :)
Have a nice weekend!
Katharina
Thank so much for sharing these tips!!! Sewing the buttonholes separately into the backing strip is genius!
You’re welcome and thank you :)