
 In my post about my new sewing room I mentioned the equipment I have that helps me assemble PDF patterns. I usually buy PDF patterns.Some patterns are only available as PDFs, some would be sent from outside the EU which takes long and can be complicated customs-wise and last but not least PDF patterns are always a little cheaper. But the main reason for me to buy pdf patterns is that when I buy a pattern I usually want to start right away. I’m not a long term planner.Another argument for me is that I have to trace the pattern anyway, because I always need to lengthen every pattern and I don’t like cutting into printed patterns. So working with a PDF pattern for me actually isn’t more work than working with a printed pattern. And I have another issue with printed copies: I don’t liek printed instructions, I want them digital!
 And because I mostly work with PDF patterns I have developed and perfected an assembling process and because I got asked about it and recently assembled a pattern I thought I would share the process with you. As I neither wanted to violate any copyrights nor wanted to advertise the pattern designer I decided to make the pattern I used unrecognizable. Looks a little peculiar on some pictures, just so you know.
 Let’s start the chain. I own a black and white laser printer. I bought it at a store that sells refurbished IT-Hardware that they’ve bought from big companies. The printer only has the purpose to print PDF patterns. We also have a regular inkjet printer. The laser printer is much faster and printing with it is much cheaper when you buy toner on the Internet which is not the original one the printer producers tells you to buy, which I do. I do have troubles sometimes when the designer uses different colors instead of different linestyles to distinguish between sizes, but actually I haven’t had that problem for a while now. What you should totally look out for when you’re printing your patterns is whether the designer used Layers in the PDF. This allows you to only print the Layers you need. Designers use one Layer per size which allows you to only print the size you need, which helps a lot and speed up the process. Not every PDF reader program is able to work with Layers. I know that the Adobe Reader can do that and as I work with Linux I also know for a fact that Okular is able to work with layers. Always remember to not scale your print, but the pattern is much easier to assemble if you center the print.
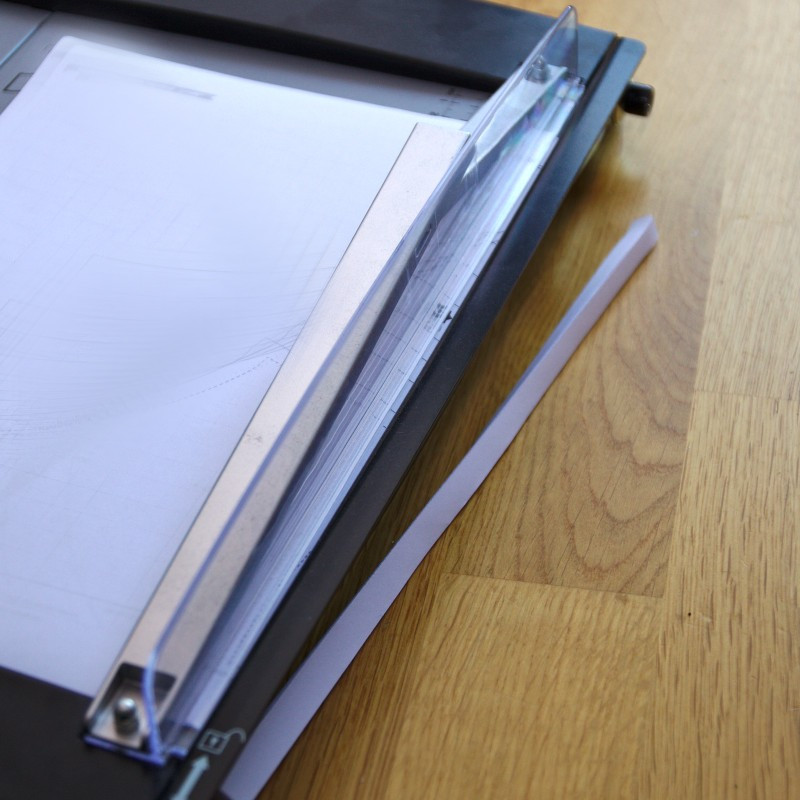
 After the printing I cut off two of the borders of each sheet. I always cut off the right and the lower border. It’s not important which borders you cut off. You have to cut off the upper or the lower and teh right or the left. You just have to make sure to cut off the same borders on every sheet. Not cutting off all 4 borders allows me to overlap the pages. That makes taping them together easier. It is also easier to correct a slightly screw cutting.
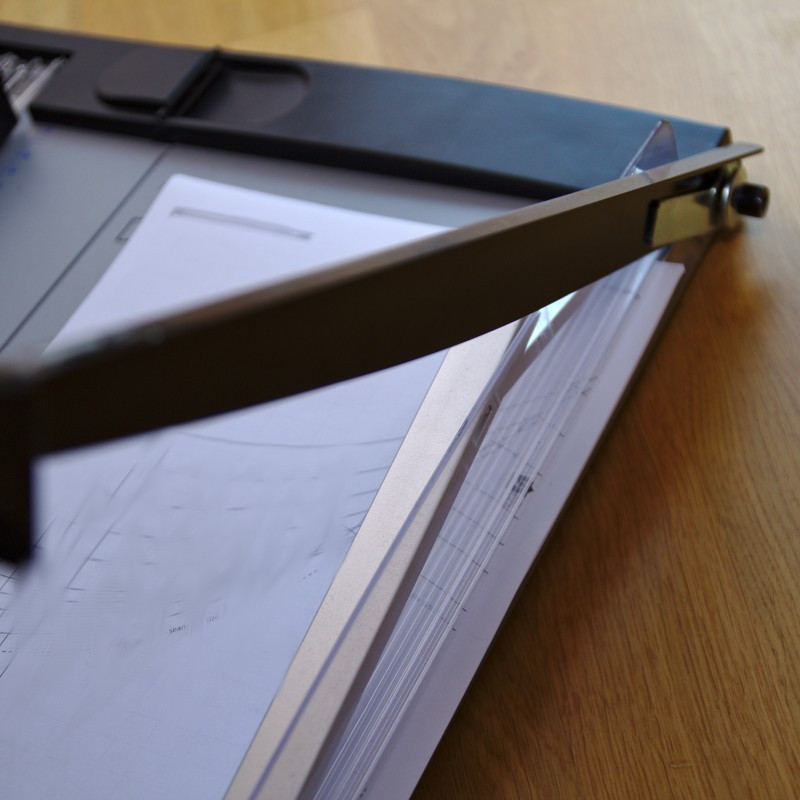
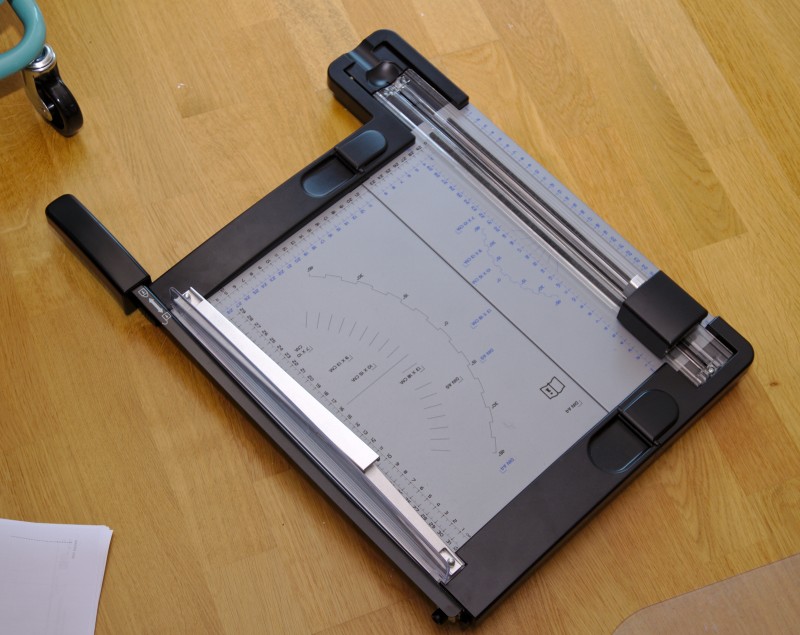 For the cutting itself I use a paper cutter. Mine was very cheap but it does the trick.It has a lever to cut and also a roller, the black thingy you see in the pictures. I like the lever better,it cuts through much more paper. If you buy a paper cutter the only thing you need to look for is how many sheets it is able to cut at once. I can cut about a third more of sheets than the instructions of mine said. I always take about 10 sheets from the printed out pattern, align them as best as I can and cut of the right and lower edge. I’m super duper fast at that, no comparison to the times when I cut the borders off by hand. That paper cutter really fastened my PDF pattern assembly.
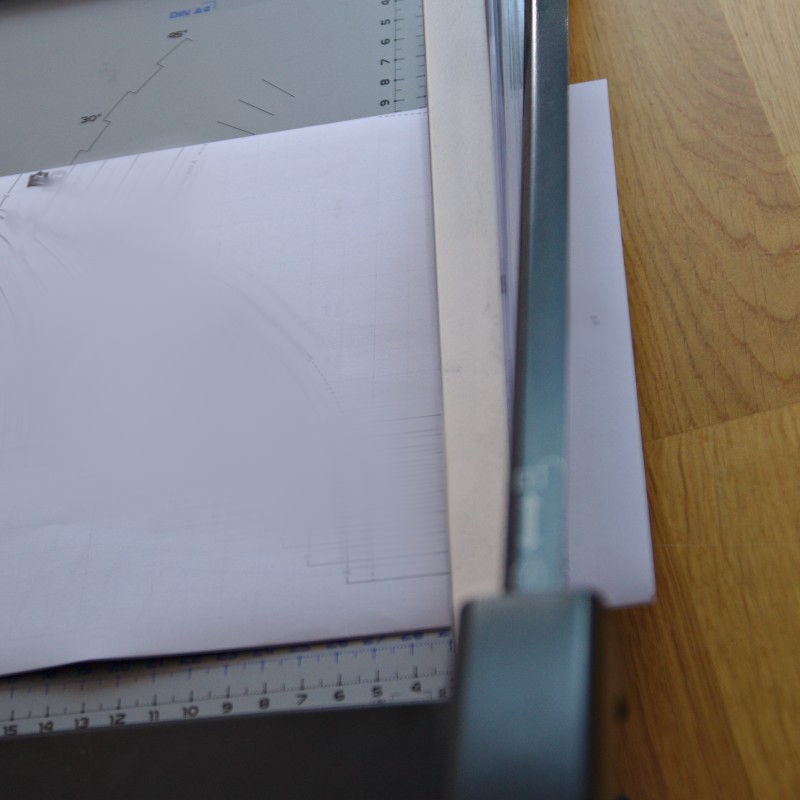
You should take a little time with that though, make sure everything is aligned. It might take you two trials or so to find out how many sheets will work and where you have to place the sheets to get the cut right where you want it. But this really isn’t that magical ;) (Although it is, it speeds up the process ;))
 Then I start assembling.All the pages are on a stack and I glue one page to the other, only taking one sheet from the stack at a time.
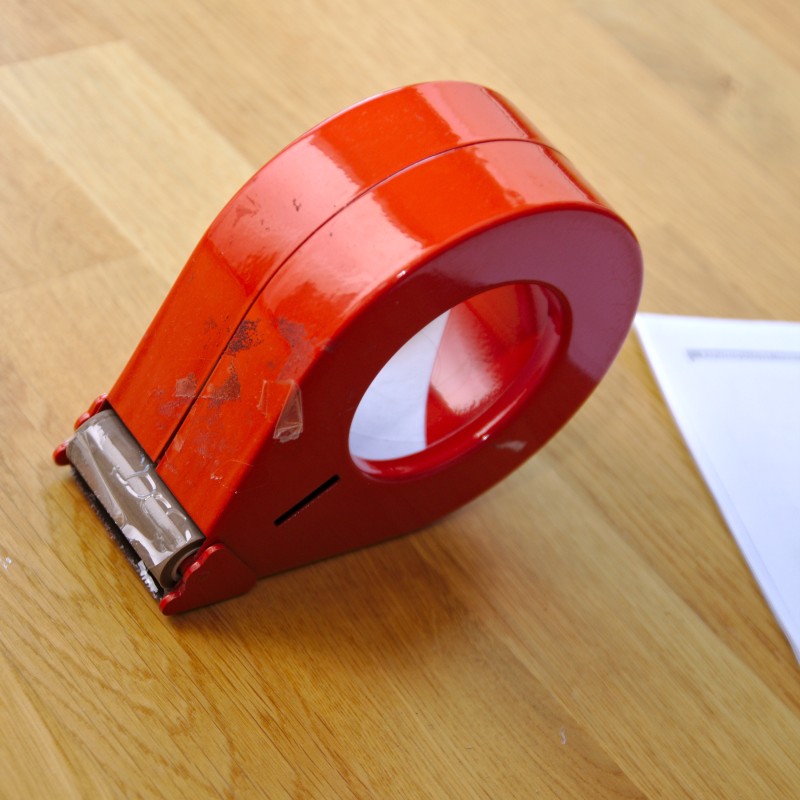
 The first sheet always is the upper left edge of the pattern (I don’t know if that is true for Arabic patterns too… ;)). SO I take the first two sheets and place the left one on the right (second) one and align the notches and pattern lines. When I’m sure everything is neat I tape both sheets together. I use transparent package tape for that. It is cheap and it very wide which is great. At first I always used scissors to cut strips from the tape. That is super annoying and so I bought a dispenser for that. There are a lot of packaging tape dispenser out there and this one worked best for me:
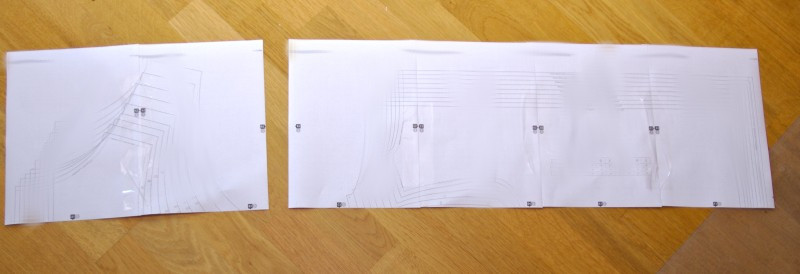
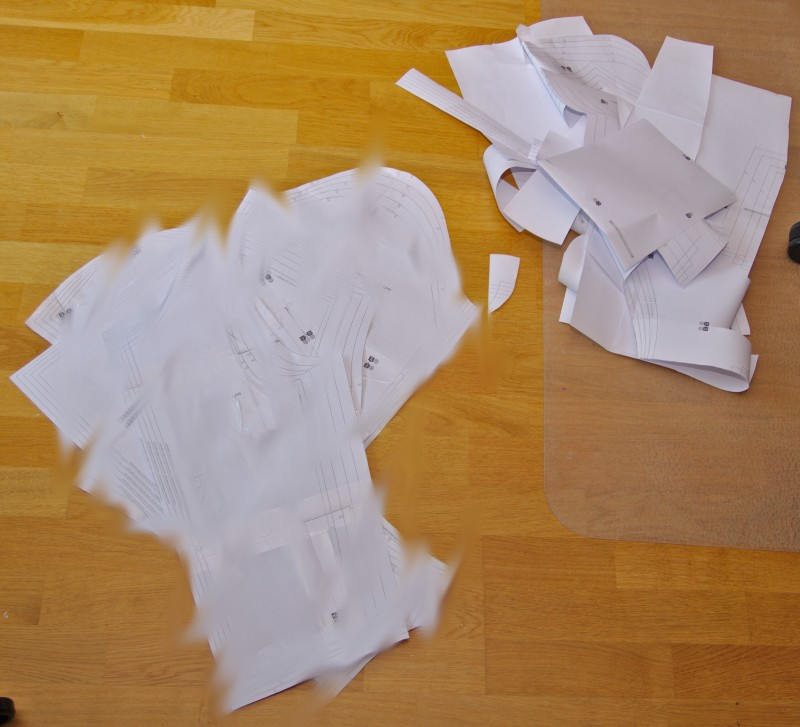
 I repeat that step until the row is completed. As you can see in the picture I only tape together pages when I have to. Often one pattern piece ends on the left sheet and the next one only begins on the second one.you don’t have to tape them together. That saves time and makes the handling easier as you don’t have one super huge pattern but more smaller ones you can put aside once they’re assembled..
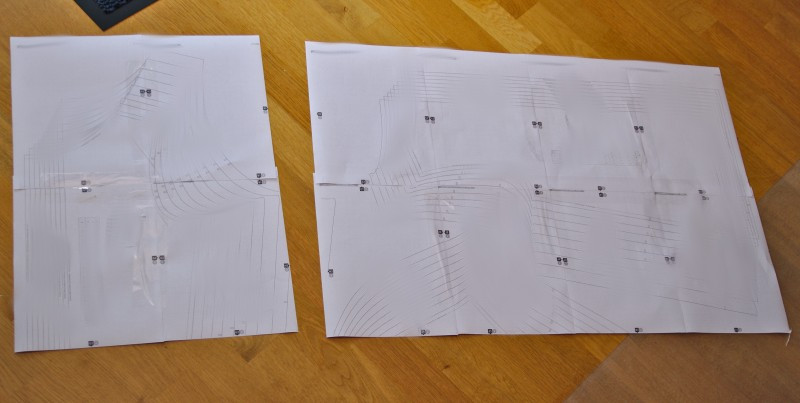
The I start with a new row and do the exact same thing as I did with the first one. Once both rows are assembled I align the bottom notches of the first with the top notches of the second row. This doesn’t have to be perfect, at some places deviations are okay,on others they’re not. Watch out for pattern lines that aren’t continual and correct your taping if necessary. Afterwards you can tape both rows together, I do that with a few strips and not with one long strip. You can try it, but it is really hard to not to fetter yourself with a sticky long piece of tape ;)
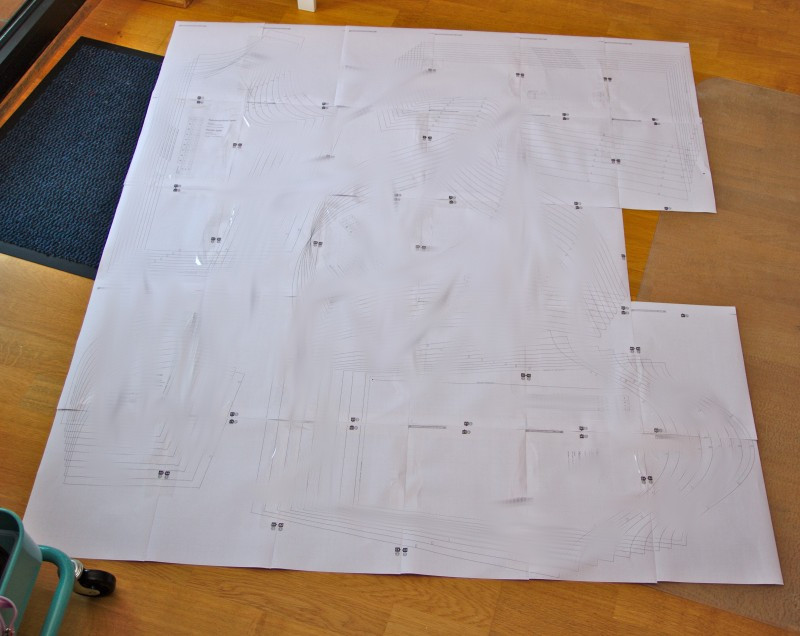
I repeat those steps until I have worked my way through the whole stack.
Once I’m done I use my paper scissors (don’t use the fabric scissors, it will make them blunt) to cut out the pattern pieces. I don’t throw the left over away immediately, instead I use them for lengthening the pattern pieces or altering them or whatever. I have a gigantic triangular ruler for that purpose and a water resistant pen to be able to draw on the tape.
 After having completed the project I fold the pattern pieces and put them into a transparent plastic pocket and use the water resistant pen to write The designer, the pattern name and the size I cut out onto the folder.
If I had to guess I would say that I need about 30 to 45 minutes assembling the pattern of a dress. another 30 minutes I need to cut out the pattern pieces and altering them.
I hope this post will be helpful for some of you. If you have any questions please let me know. Also please let me know if you have any tips or suggestions :)
Macht’s gut!
Katharina
Thanks for sharing your PDF process. I do something similar too.
I also use a paper cutter for cutting off the borders but it’s at my place of work so I print the pattern and take it to work and tape it there as there are large tables too.
That’s convenient! I once worked at a place that had a super large paper cutter, you could cut 100 pages at once with it. That was pretty cool, the job sucked though…;)
I enjoyed reading how you assemble .pdf patterns. I have evolved into a similar process, but never thought about putting more than one paper through my paper cutter at a time! That would speed the process up! Also like your idea about using clear packing tape as the clear Scotch tape sometimes does not adhere well.