
 About one and a half years ago I sewed what is now my favorite backpack. It was the first backpack that I sewed myself I really really liked and wore daily. Back then I ordered the niizo’s Freedom Backback sewing kit via etsy coming all the way from Taiwan. It came with everything that I needed and the parts included in the kit were of a great quality and long lasting. I had made bags and backpacks before but I never found fabrics that were durable enough. Cotton and polyester lining often ripped after a while and I never found the perfect water repellent fabric to use for a backpack of my liking. I also liked the kit because it meant that I didn’t have to go and find all those small parts and matching webbing and stuff. But to me the kit also had some disadvantages. I had to pick it up at customs which is far away and only open til 5 pm. And I could only chose the main color of the backpack, the color of the zipper, contrast and lining fabric were chosen by niizo.
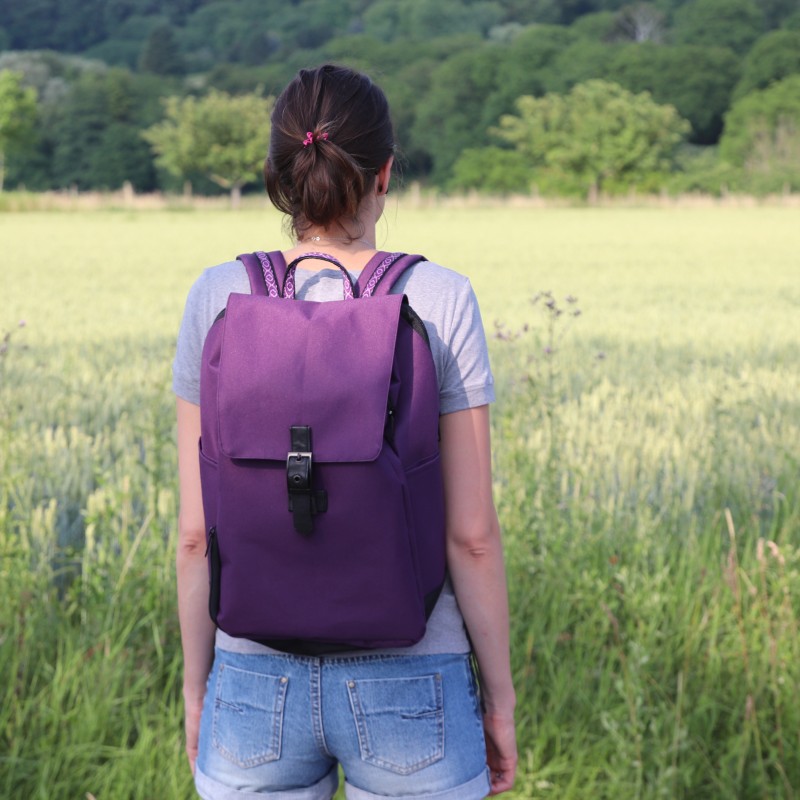
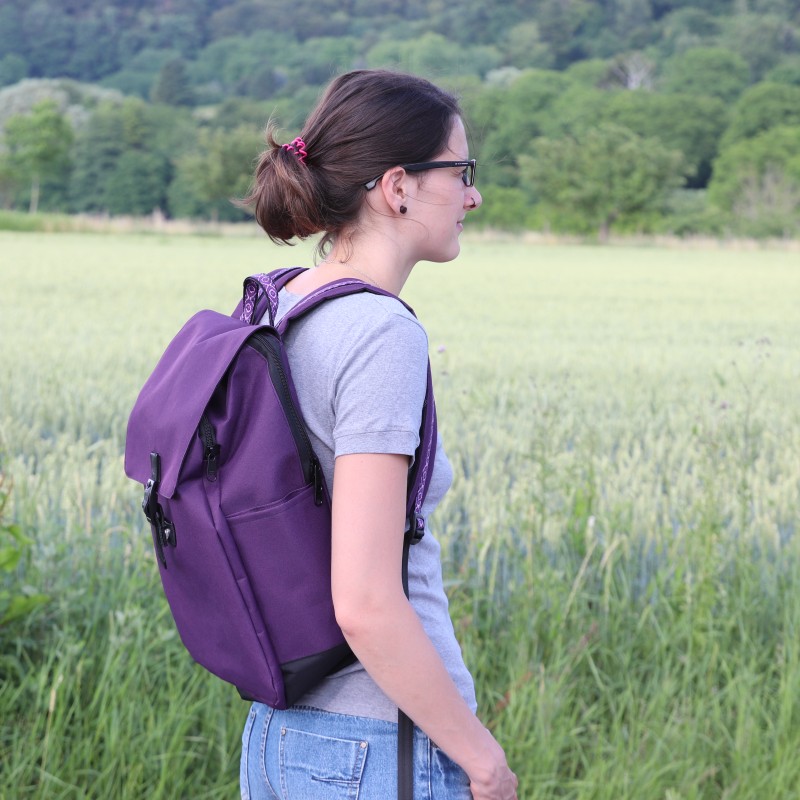
I took that backpack everywhere with me. I really love it! It now matches the form of my back perfectly, it has the perfect size and I still like the color that goes so well with most of my wardrobe. However over time the color has faded, the leather looks old and the straps look worn out. I want to emphasize that the bag did not rip and is not broken or nonfunctional in any way. It is very sturdy and so reliable and it looks the way it looks now because I have made use of it a lot.

So a while ago I decided to make a new bag. I thought about ordering another kit, but after having completed the bag once I felt more confident in finding and assembling all the parts needed myself. Also I really wanted to chose colors that I truly liked and thought fit together best. I probably wouldn’t have to deal with the customs office this time, as Amy wrote me after having seen my blog post and asked what she could do to make the package not get stuck at customs. I told her to attach the Etsy invoice to the outside of the package. Usually that helps, but as I haven’t tried it I can’t say it for sure.
I have been on the look out for a suitable fabric for a while now but didn’t find anything in the local fabric stores I visited. A few weeks ago I stumbled upon a blogpost of a German sewing blogger who used Oxford 600D fabric for a backpack and liked it a lot. The fabric is rather cheap and so I thought I’d give it a try. I ordered 3 x 1 m, one meter in black, one in purple and one in plum. I wanted to make sure to get the right shade of purple.
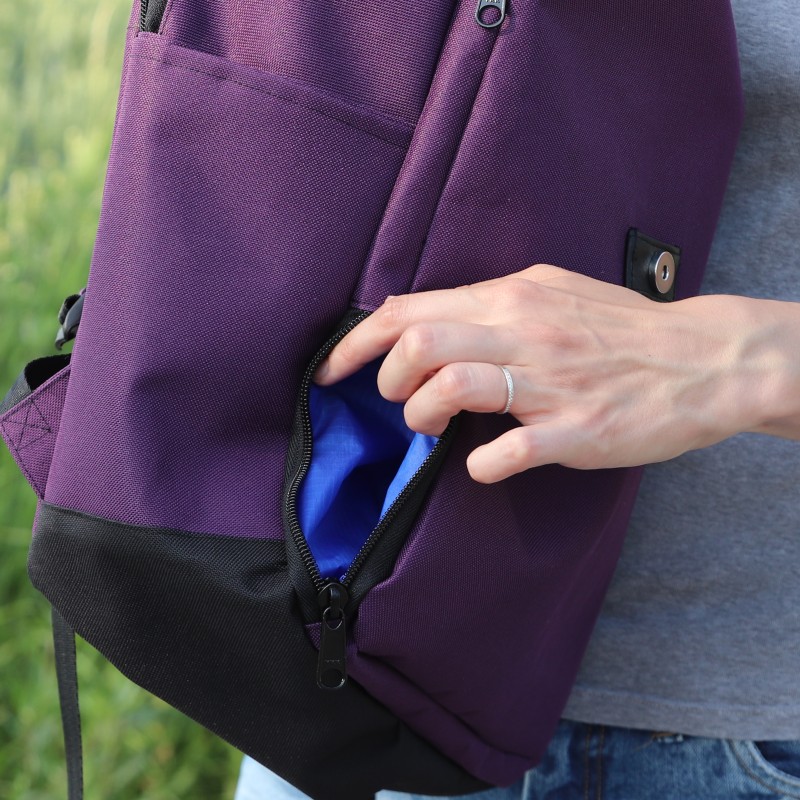
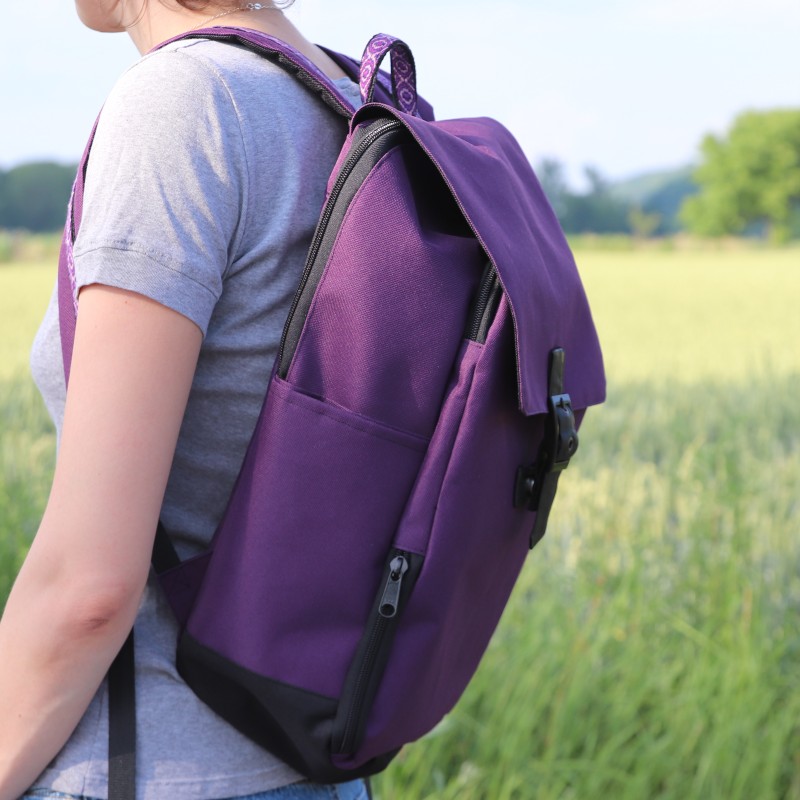
The fabric is 100 % Polyester and it is sturdy and water repellent. It is woven in a variation of plain weave: basket weave, which makes it look and feel more structured and I really like it. It also has a little bit of shine to it.

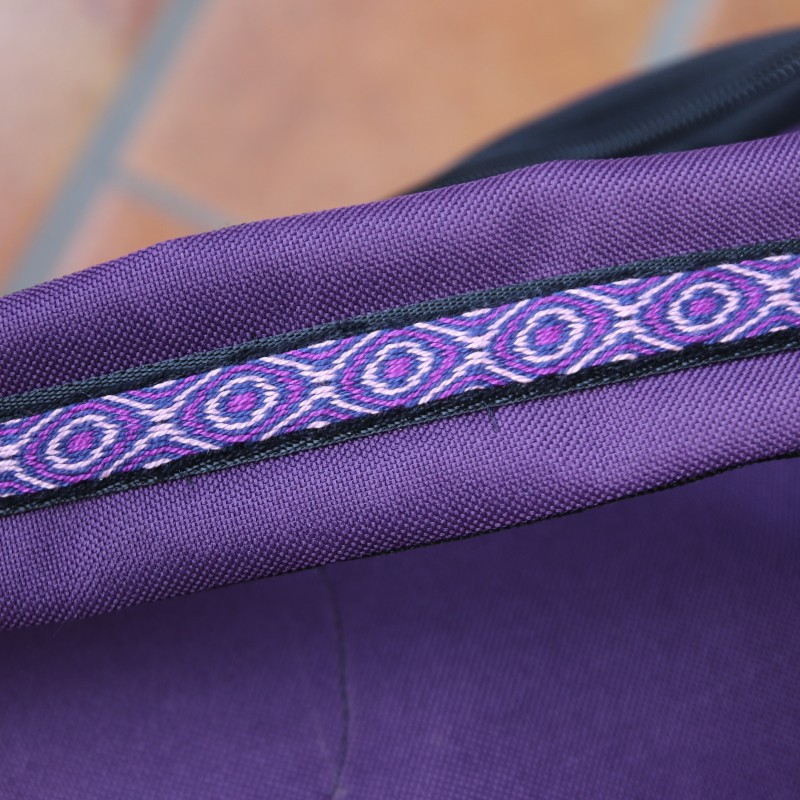
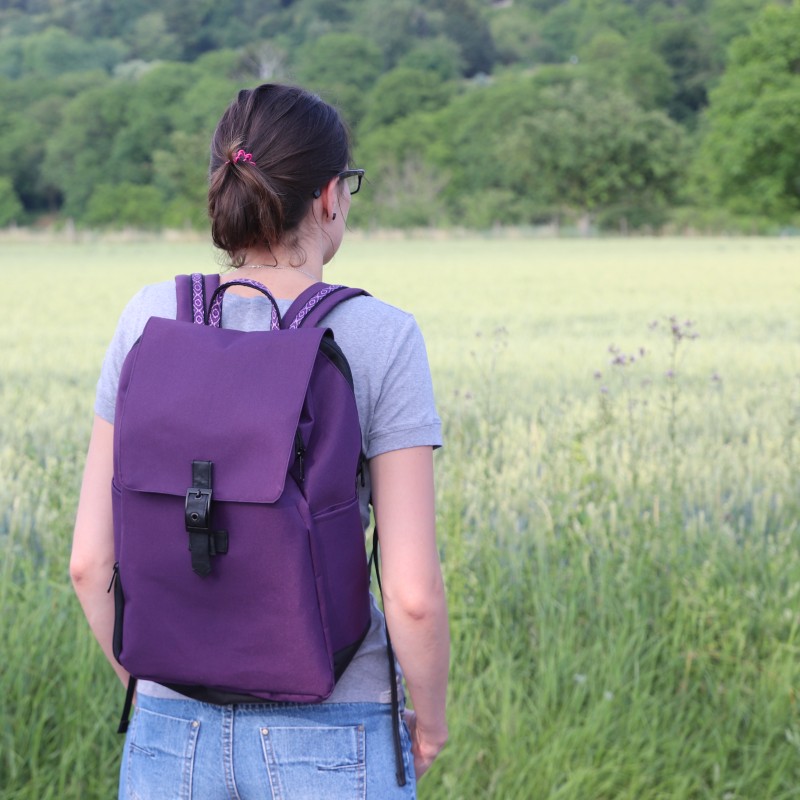
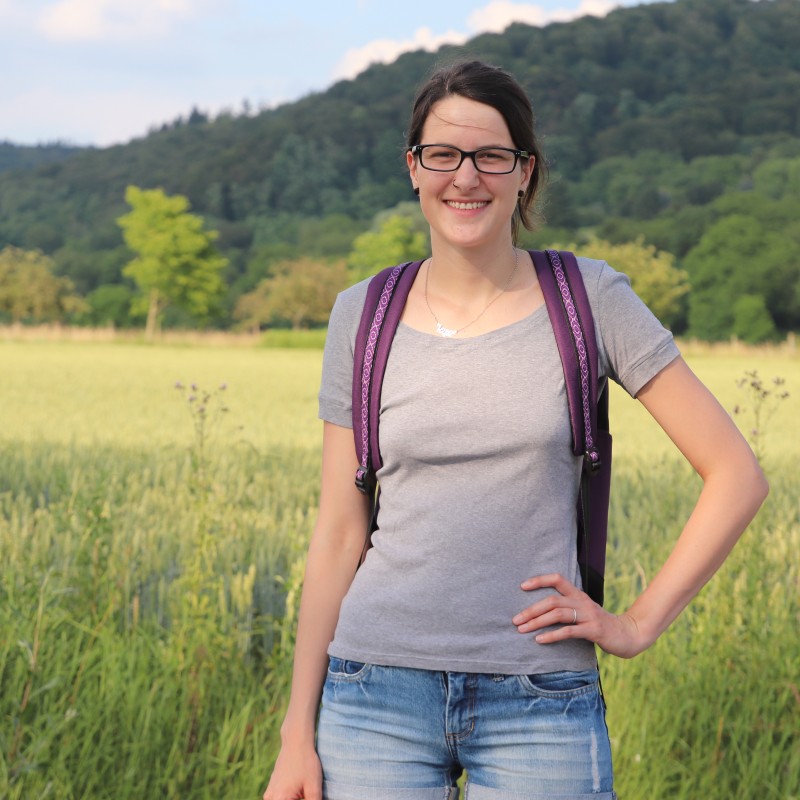
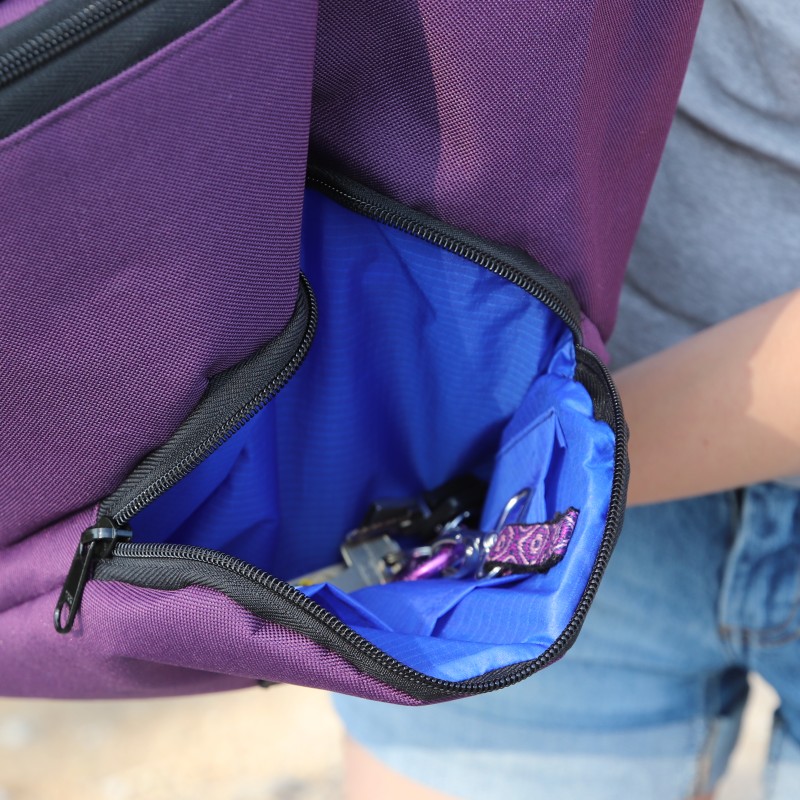
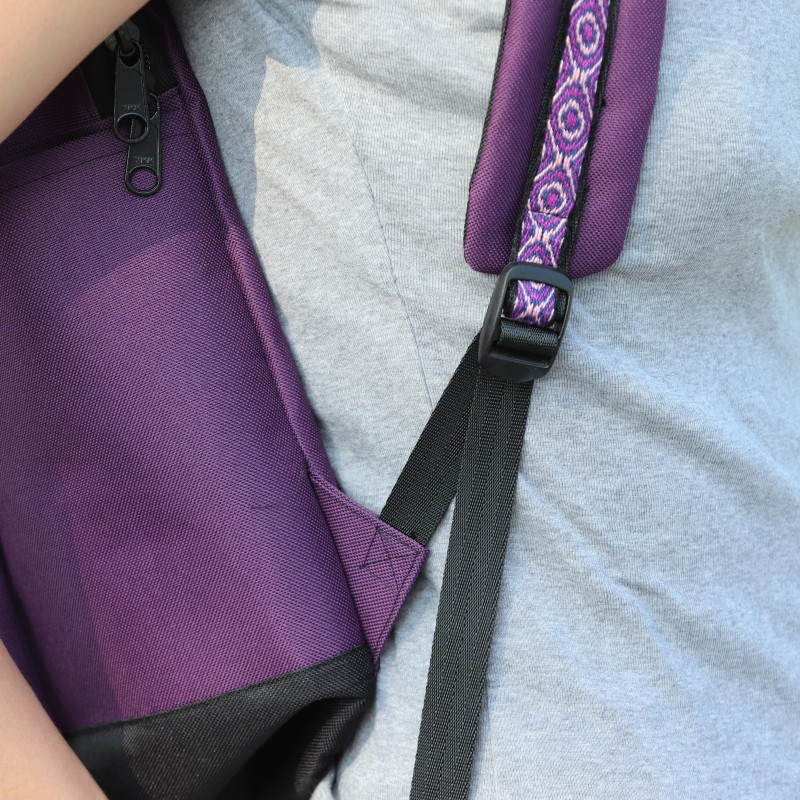
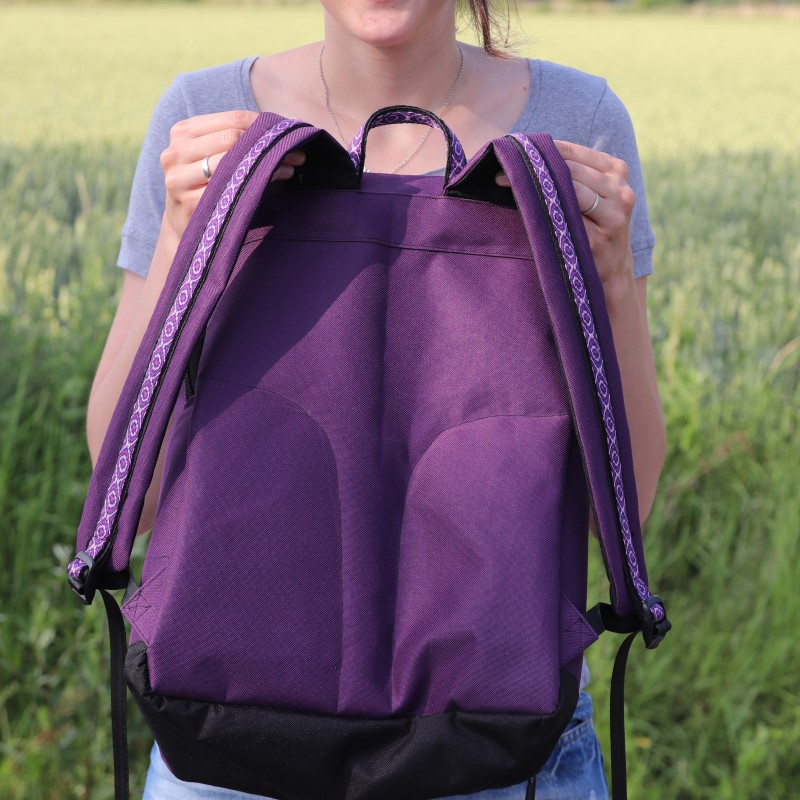
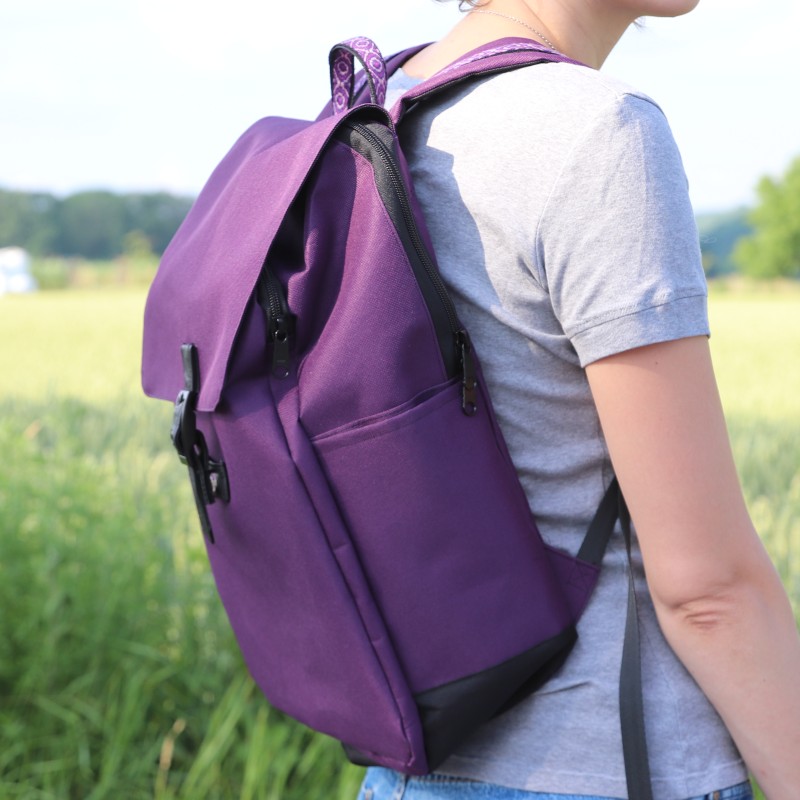
I had settled on a purple backpack, because weeks before I bought some pre-warped tablet weaving warp that was purple and I planned on applying the finished band to the shoulder straps and the handle. I also used a piece of the band to fasten a carabiner that I use to keep my key, which I find super practical and cannot live without.

The width of the finished band was about 18 mm. So I ordered 19 mm wide webbing, which is a little thin for a backpack but still okay. I liked the sleek webbing that was included in the kit, it looks like a seatbelt and I found this webbing at a German online store known for selling outdoor textiles for hiking clothes and tents and backpacks and stuff. I also ordered the ladder locks, zippers and lining there. I wasn’t sure what fabric would make a good lining and so I went with Nylon Ripstop.
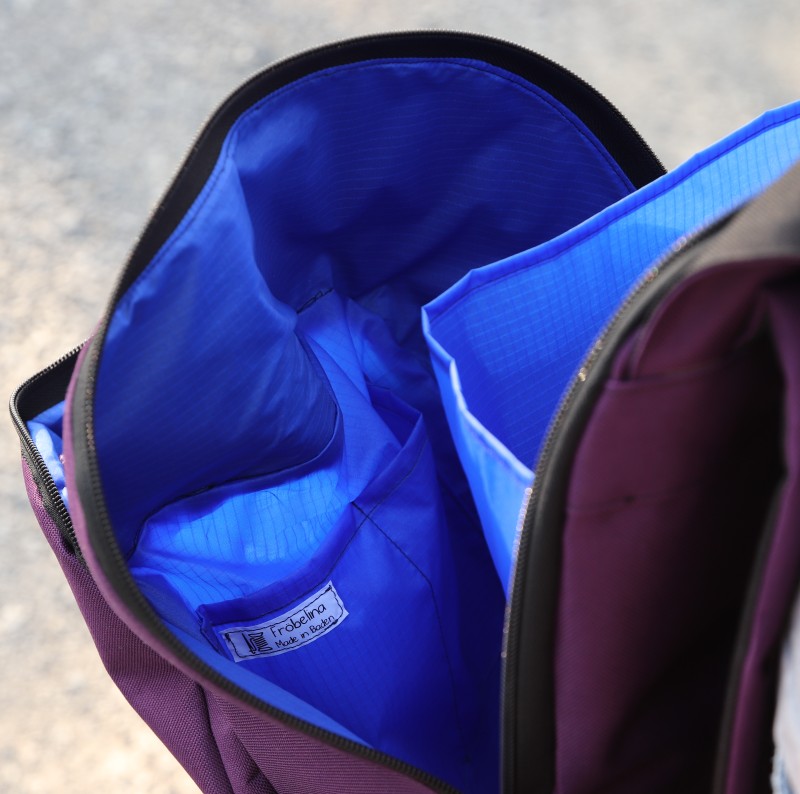
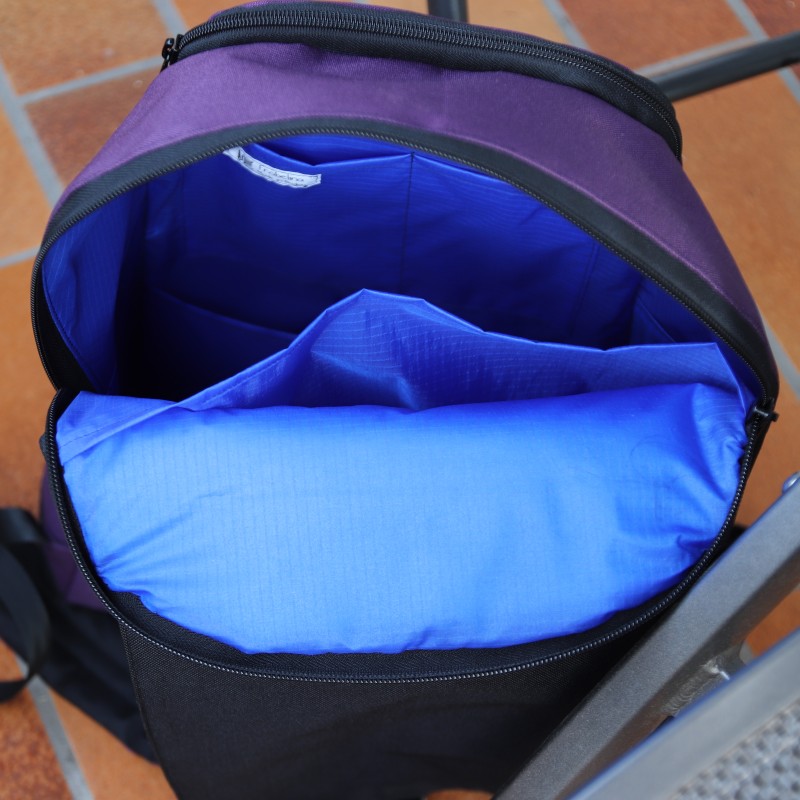
The fabric was second choice and thus rather inexpensive. The description said it was blue, but in the pictures it was depicted in a very saturated pink. I would have been okay with both. As you can see the lining is blue ;) The fabric is a little transparent and feels very sturdy. Like a very light tent fabric maybe. It didn’t fray at all and it definitely made a good impression. I hope it will hold up.
For a very short instance I thought about using a differnet pattern to make the backpack. But I love my first Freedom Backpack so much, that I didn’t have to put too much thought into this decision.
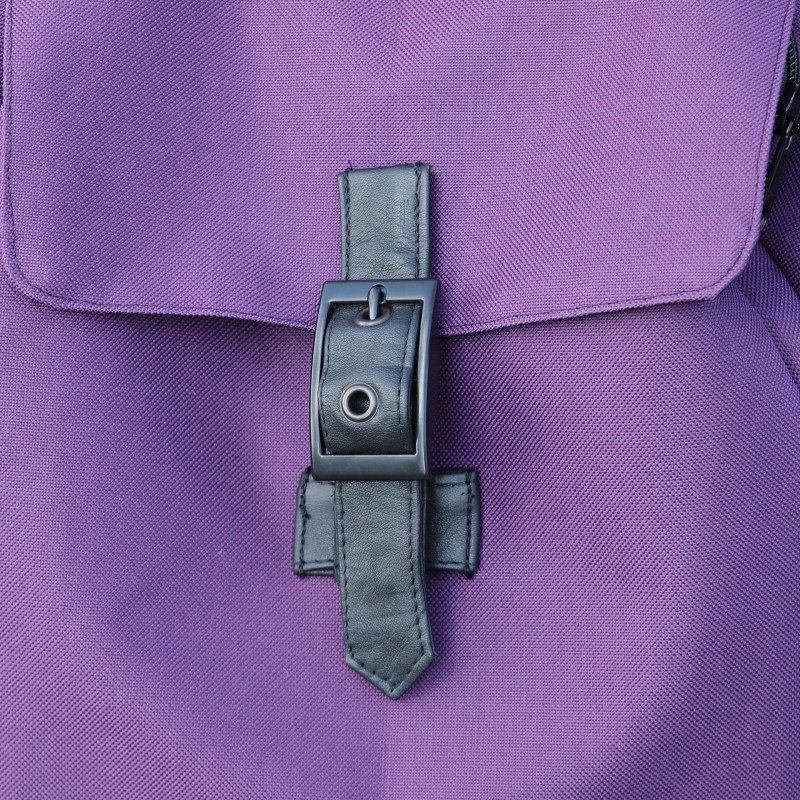
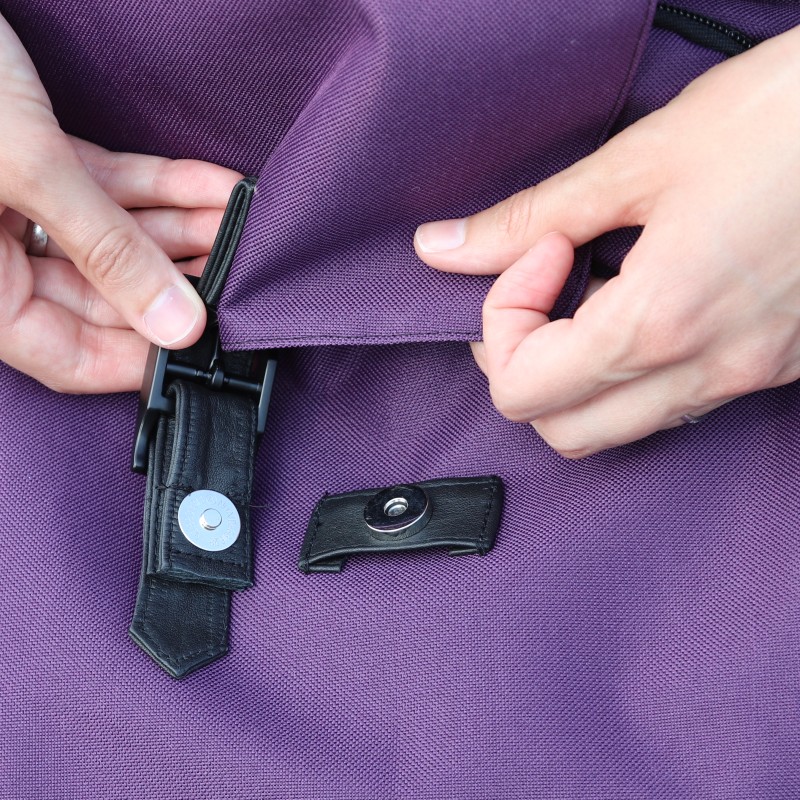
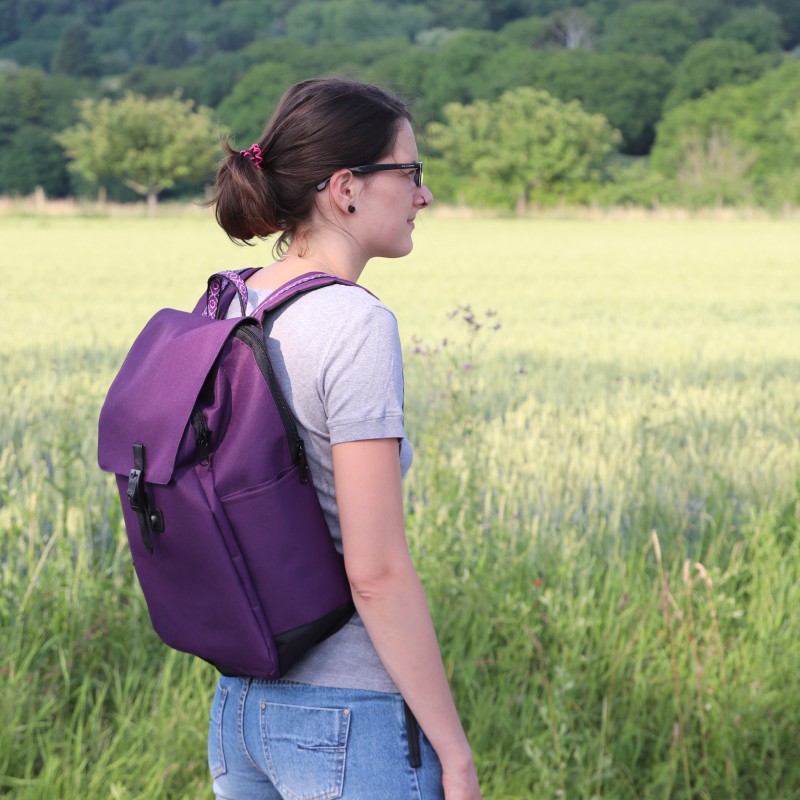
Making the Freedom Backpack again meant that I needed more material for the front closure, like a magnetic snap (which I had in my stash), leather strips and a belt buckle. I searched my stash and found a belt from an old leather coat my father in law gave me to repurpose. I bought a matching buckle on ebay and assembled the closure as described in the instructions.
 The kit came with a super stable and sturdy foam sheet to bolster the straps and the back and I wasn’t able to find anything like it anywhere. I used some really thick wadding for that purpose. I even bought a very stable Polyethylen plate at extremtextil that you can use to stabilize the back of a backpack. But I found it too stiff and didn’t use it.
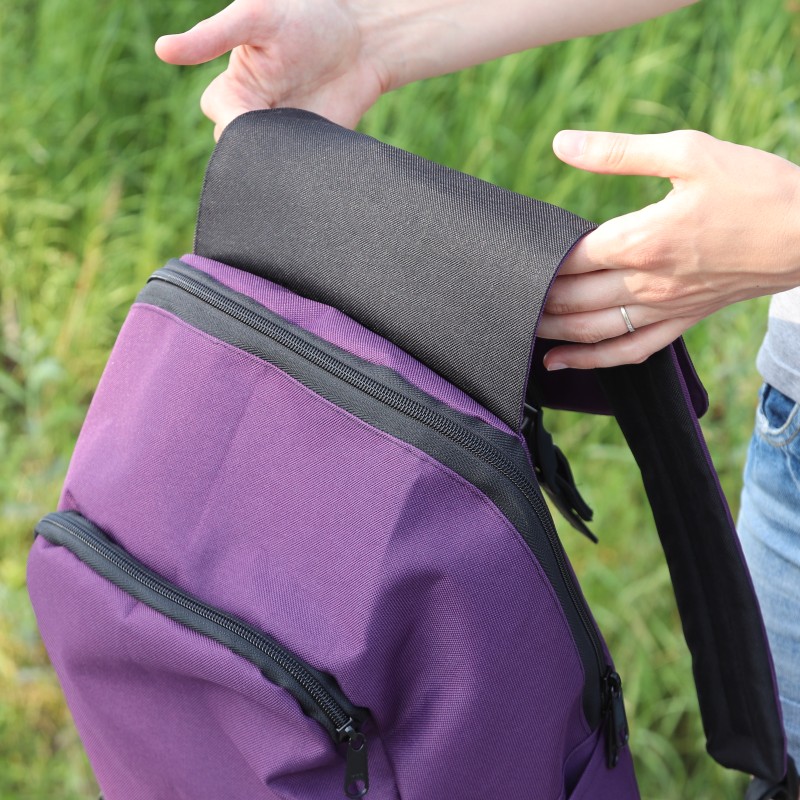
The kit also comes with a special fabric for the bottom piece of the backpack. I simply used the black Oxford fabric and I used it for the underside of the flap and the straps as well.
I think most of the time I spent on assembling all the materials needed and informing myself what is available. I also spent a lot of the time weaving the band. Sewing was way quicker, but tedious nevertheless. It was fun to assemble all the parts and to sew all the small things, attaching and assembling the straps or the flap for example. But it gets really hard once you start to assemble the bag. The fabric was so sturdy and I kid you not I had to take breaks from sewing because I was exhausted and my arms hurt. I was not able to sew the lining front and back to the backpack using the burrito method as suggested, I did that with hand stitches and I was very happy once this was over.
 It might be interesting to note that I sewed the woven band onto the polyester webbing and then onto the straps and handle, because the woven band would not have been sturdy enough to hold the tension on its own.
 Except from that I did everything as per the instructions. And though I had problems handling the backpack while sewing, the instructions always were very clear and helpful. I simply followed them blindly, and in the end I had a backpack ;)
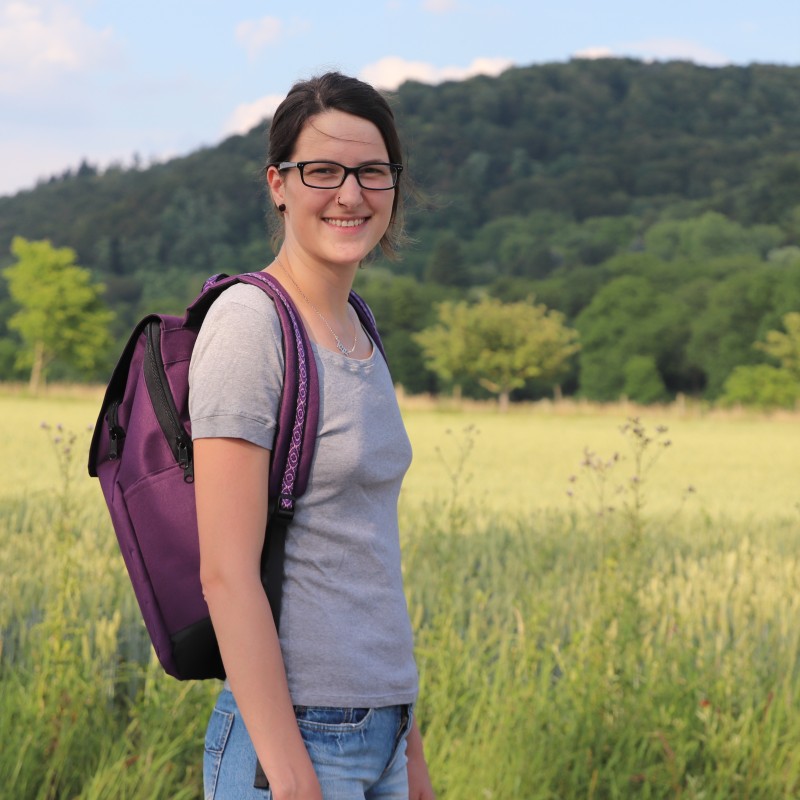
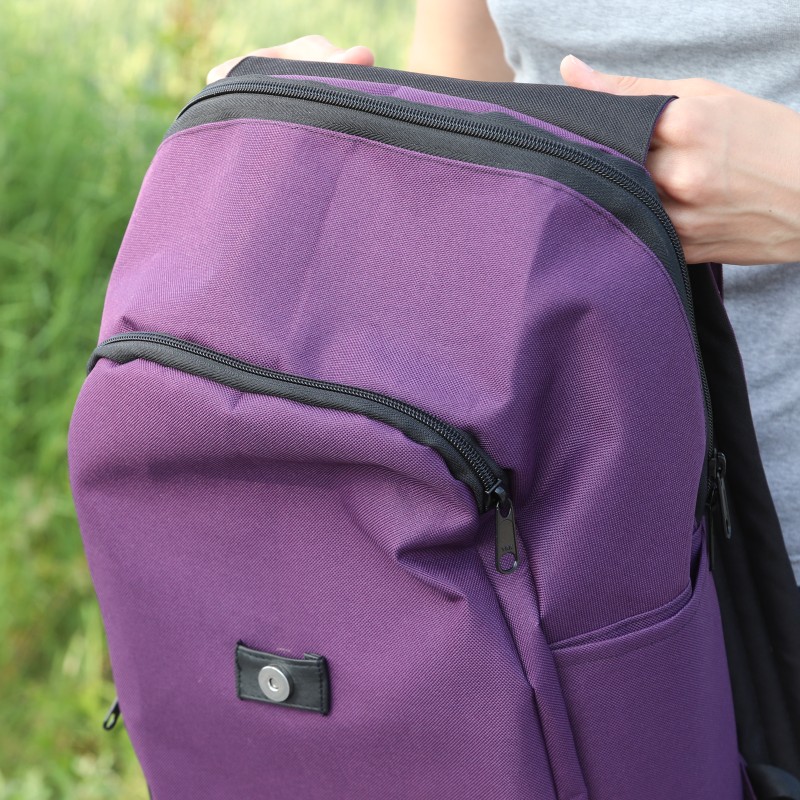
I’m pretty excited about my new rucksack :) I love the color and and that the contrast fabric is black. The band turned out beautiful as well and I even made it myself. I hope the fabric is a little more resistant against dirt and wear and tear. But if not I’ll gladly sew a new one 1.5 years from now.
I hope this blogpost helps you to find all the materials you’ll need to make a backpack more easily. And I hope it motivates you to give sewing your own backpack a try. If I can be of any help or if you have any questions don’t hesitate to contact me.
Macht’s gut!
Katharina
Such an awesome backpack!! Love the rich color you chose and to incorporate a piece of your beautiful weaving personalizes it completely. It was interesting to read your post of how you searched and adapted products to suit your needs while creating this project. It’s easy to see why you love it so! :)
Thank you Lisa!
Another fabulous make. I’m not sure I have the emotional strength or manual dexterity to make a rucksack like this, but you certainly have got me thinking!
Thank you Sue, you should give it a try, it is really fun!