
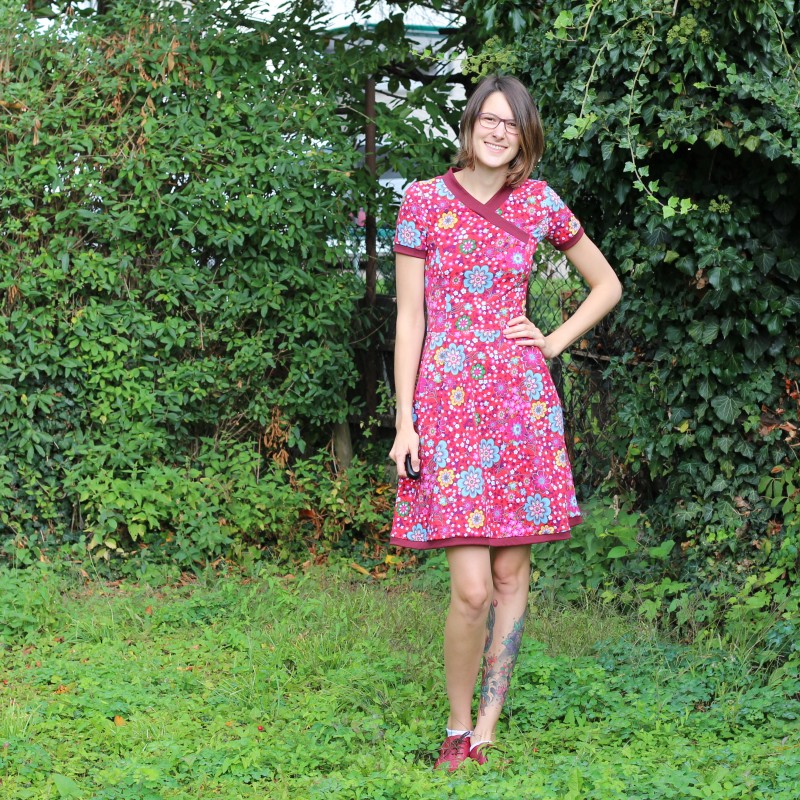
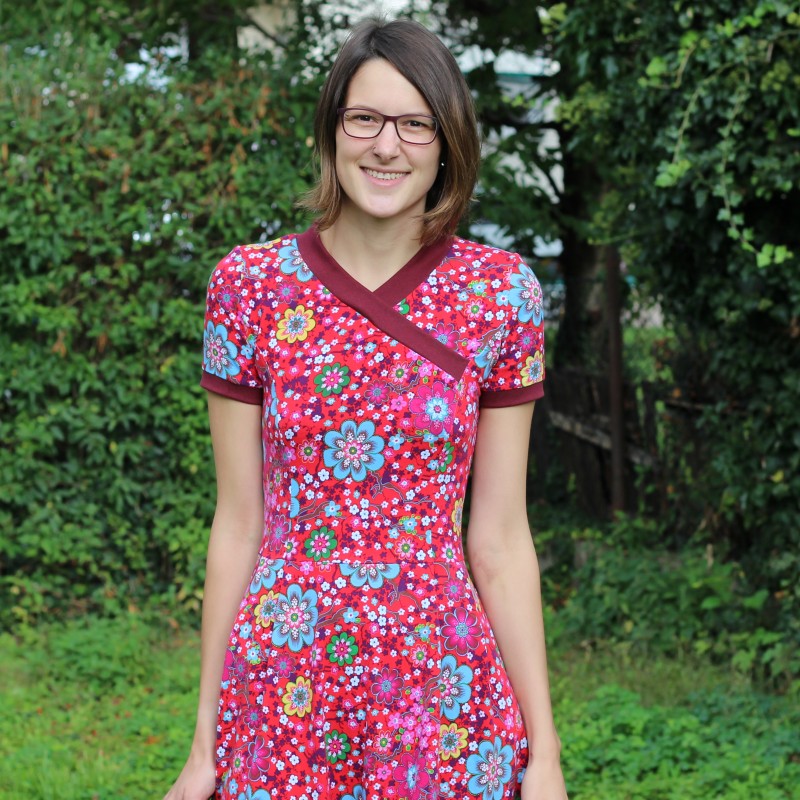
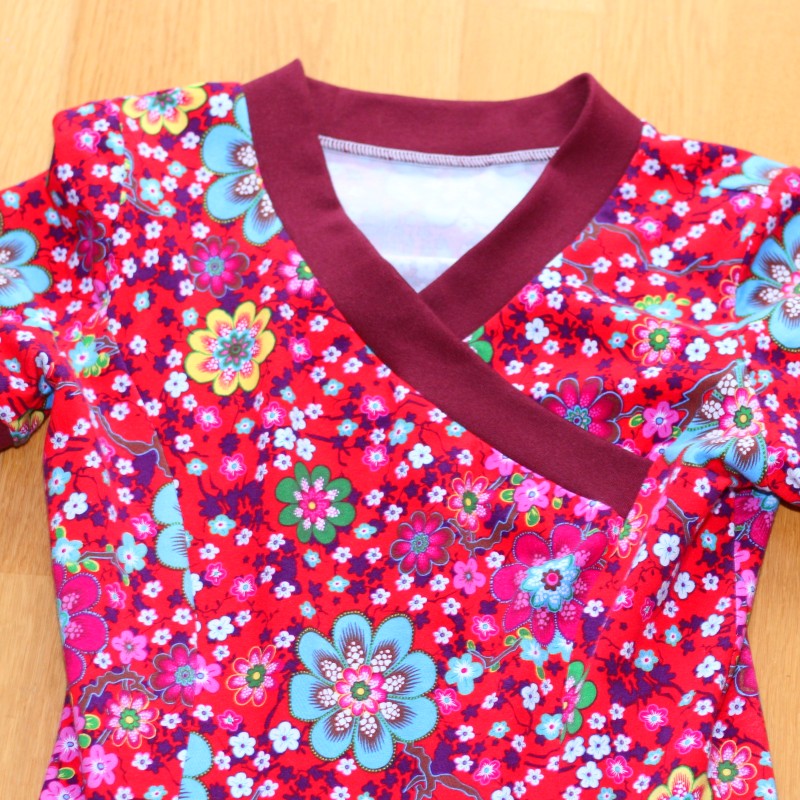
 It took me sooo log to finally make the Pattydoo Mira Dress Pattern into a dress. I knew I wanted to give this pattern a try from the day it was released, the neckline really intrigued me! I bought fabric for this project ages ago, but it still lies well hidden in my closet. In the end I made the pattern from a fabric that I found spontaneously at the latest fabric market in Karlsruhe. I already knew the fabric and that I would like it as a dress, because I made my first dress ever from the same fabric. I still wear that dress and the top I made from the leftovers. Still I wasn’t sure if I needed another dress from this fabric. So Susanne bought it for me, suggesting that it would look great made up into a Mira Dress. And well, I couldn’t resist!
Then again, time went by until I saw Manuela’s version of the dress! I loved it! And I had enough motivation to search for matching knit fabric and lay it besides the flower fabric ;)

Some more weeks went by ;) And summer started to shift into autumn a little and I finally started this project ;)
I started with printing all 57 pages of the pattern. There are variations and a lot of sizes included. Also the pattern pieces are not printed on one huge sheet but on multiple small sheets. That makes things easier, when you don’t want to print all the variations. At least in theory. In reality I couldn’t find out which pages I needed to print to have all the pattern pieces I needed. To find that out I would have had to look at every single one of the 57 pages, read the caption and write down the page number. So breaking the pattern up in smaller parts really didn’t help.
Au contraire. It made things worse. I had to throw away so much paper! Because of the fragmentation of the pattern, the pattern pieces are not placed economically. Also the huge range of sizes made the waste worse. Another thing that made assembling and cutting the pattern harder was that the lines of the different sizes do all have the same color and style, you need to concentrate a lot not to cut at the wrong line.
Another thing worth mentioning is that the pattern piece name of the bodice side front and side back is not printed on the pattern piece itself, but in the caption only, which means that the information is lost, once you cut out the pieces. All small but unnecessary issues.
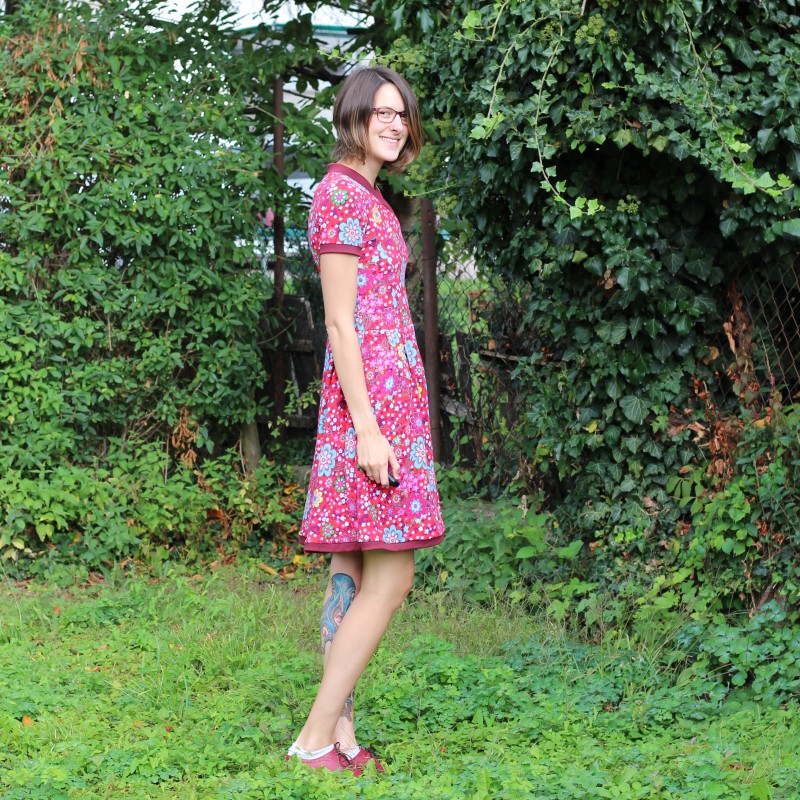
According to my bust measurement and the measurement chart I decided to go for size C, which corresponds to size 36. I lengthened the bodice by my usual 4 cm, there is a small but totally sufficient explanation in the instructions on how to do that. I didn’t lengthen the skirt though, so the skirt will look longer on less tall women.
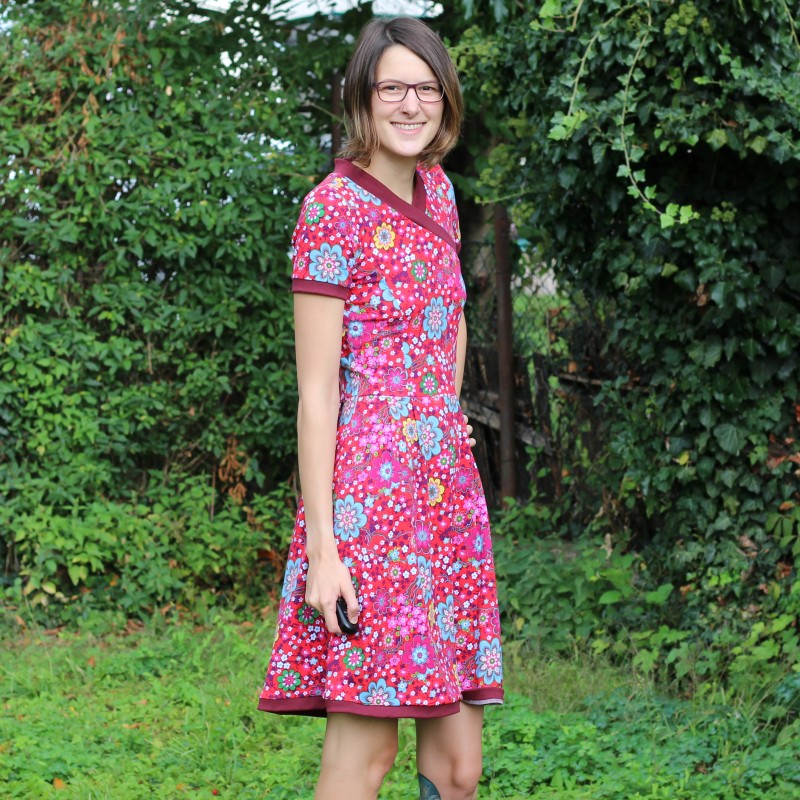
Of course I didn’t have enough fabric to just cut the pieces easily. I had to arrange them and were only able to cut short sleeves. There are suggestions in the instructions on how to save fabric by placing the fabric pieces wisely. I liked that! And I was glad the seam allowances included in the pattern are only 0.7 cm. I prefer to sew with at least 1 cm, but it did make fitting the pattern pieces on the fabric a little easier.

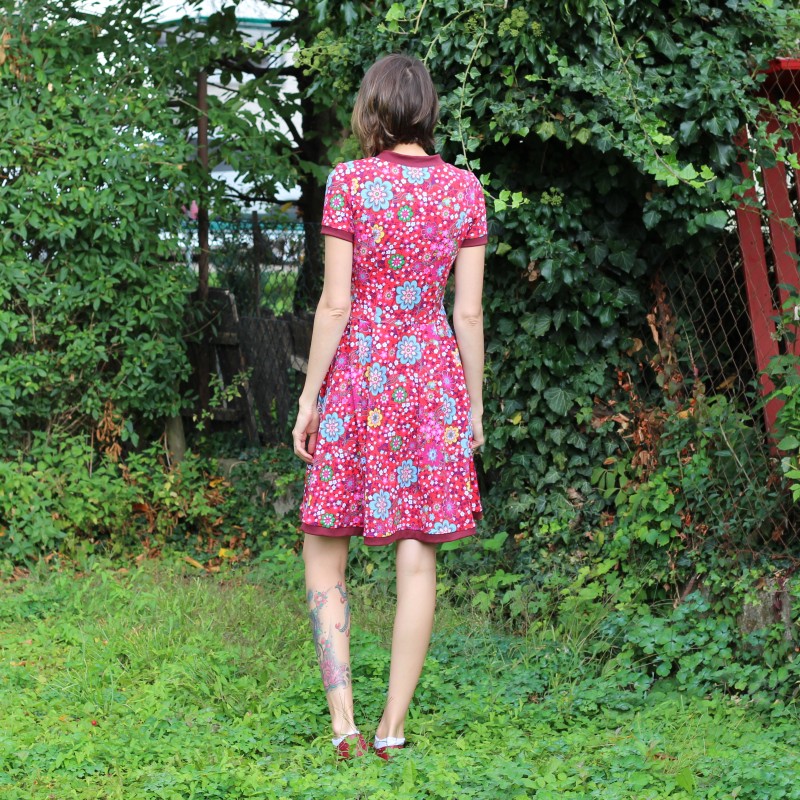
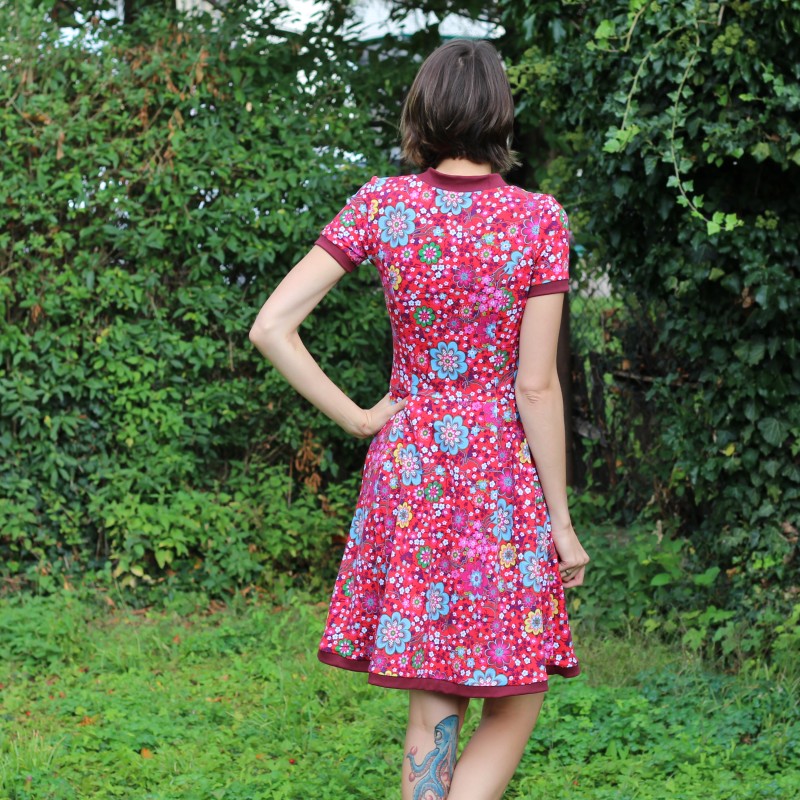
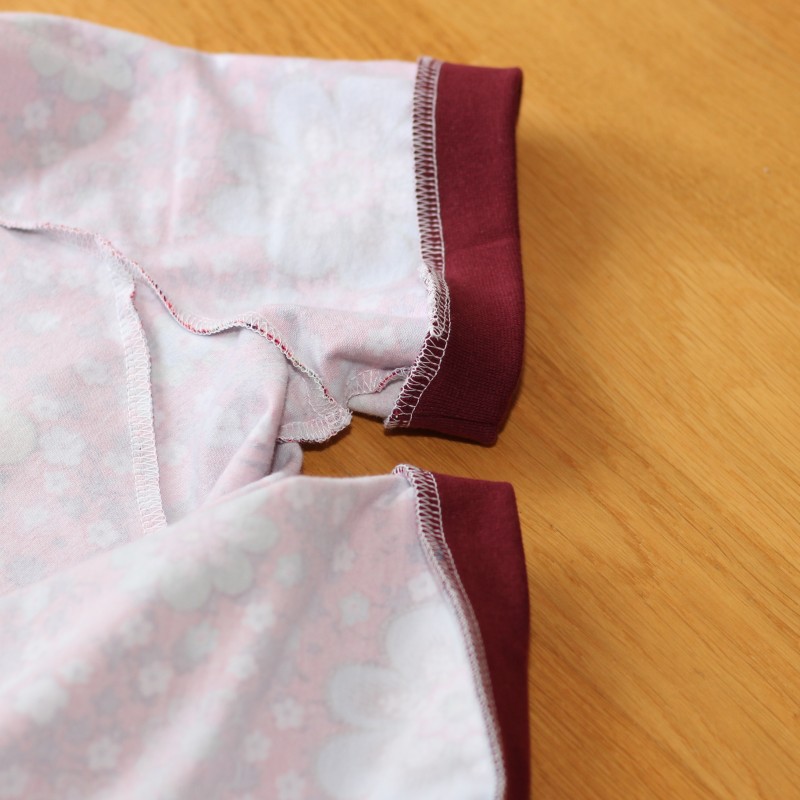
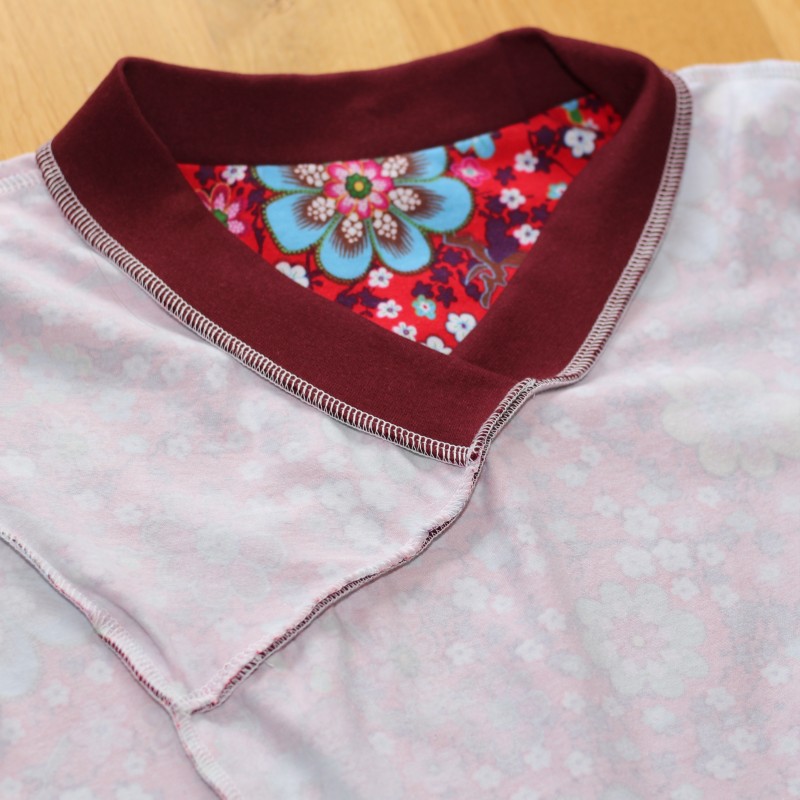
I decided to use the ribbing knit fabric not only for the neckline, but also for the sleeve and skirt hems. Manuela did that too and I really liked the effect.
The sewing process went smooth and fast. The instructions only give you a broad overview of the steps you have to take to assemble the dress. There is a video tutorial explaining the steps in detail. The sample dress that is sewn for the video tutorial is all red. You cannot distinguish between right and wrong side of the fabric, you cannot identify seams.. really.. not a great idea. also I just saw that this video seems to be only available in German. However the notes on the pattern pieces are also written in English and I don’t think sewing this dress would be too hard, even if you didn’t understand the language.

I sewed almost everything according to the instructions. But I didn’t sew the skirt pleats shut, because I liked them better this way :).


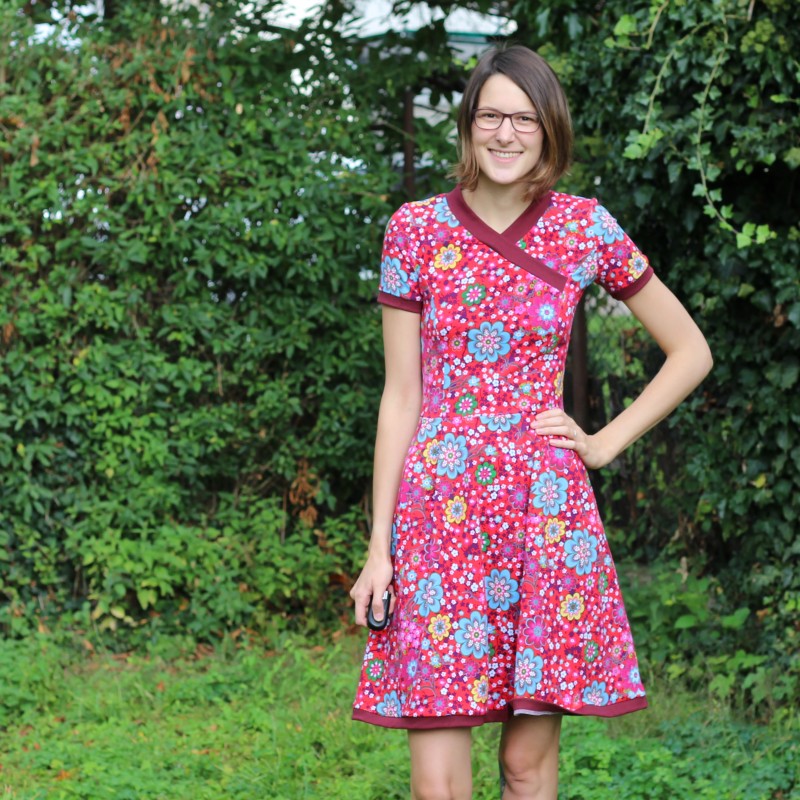
I’m happy with the finished dress. I shouldn’t have relied on the pattern piece for the neckline binding though, I should have stretched it more, but that is 100 % my fault not the patterns. Also you might have noticed that the dress is a little wide around my waist. I knew that in advance, because the measurement chart suggested that. But I didn’t change it, because I thought it would be nice to have a dress that is not skin tight. And I like it how it is :)
Another small issue is that the hem binding sometimes turns to from the inside to the outside. I’m thinking about topstitching it, but right now I’m hoping this problem will solve itself after a while :)
My conclusion on the pattern is, that even though it has its issues it is worth buying and trying, the fit is right and it only costs 3 €.
My conclusion on the dress is, that I like it and maybe one day I will make another version from the fabric that I specifically bought for this pattern.
Macht’s gut!
Katharina
The print of this colourful dress works really well with the plain neck and hem band. Hopefully you will get a couple more wears out of this until next summer. It has turned a lot cooler in the UK this week – I might have to get my tights out next week ; (
Thanks Caroline! Temperatures dropped by a lot here too, I already wear tights! :(
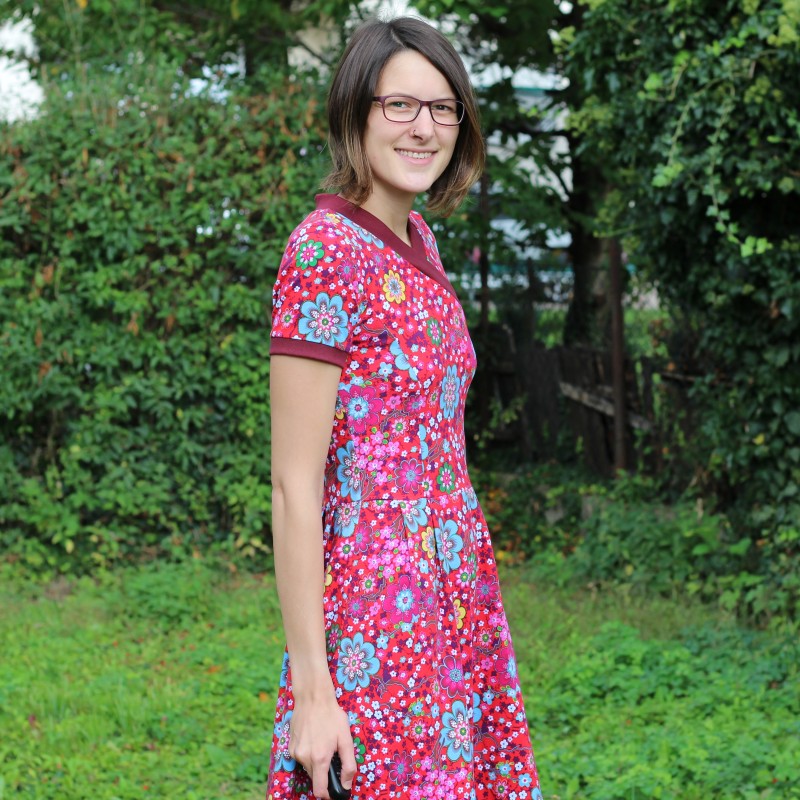
This dress suits you so beautifully. I love the shape of the neckline and the contrasting binding.
that’s really beautiful.. but whoa; 57 pages! my very least favourite thing about pdf patterns and it’s enough to put me off buying a pattern. I don’t mind tracing big-skirted patterns from Burda but taping together a million of pages is not fun! And all those other little things you mentioned are not fun either. The good news though is that your dress really is sensational xxx
Thanks Carolyn. I usually don’t mind assembling pdf patterns, but this time was a little frustrating.
Lovely dress! The contrast binding looks nice on both the bodice and sleeves. Interesting reading your thoughts about .pdfs and then Carolyn’s comment….. this is where I struggle with .pdfs too. In some ways it’s nice to have the pattern all put together and you can just cut away with no tracing. Particularly when seam allowances are included too. But the downside is the assembly for me. And the taping. I say all this as I am in the middle of assembling not 1, but 2 .pdfs for my next projects!! :0 Always interesting reading your posts! :)
Thanks Lisa! And good luck with assembling the pdfs :)