
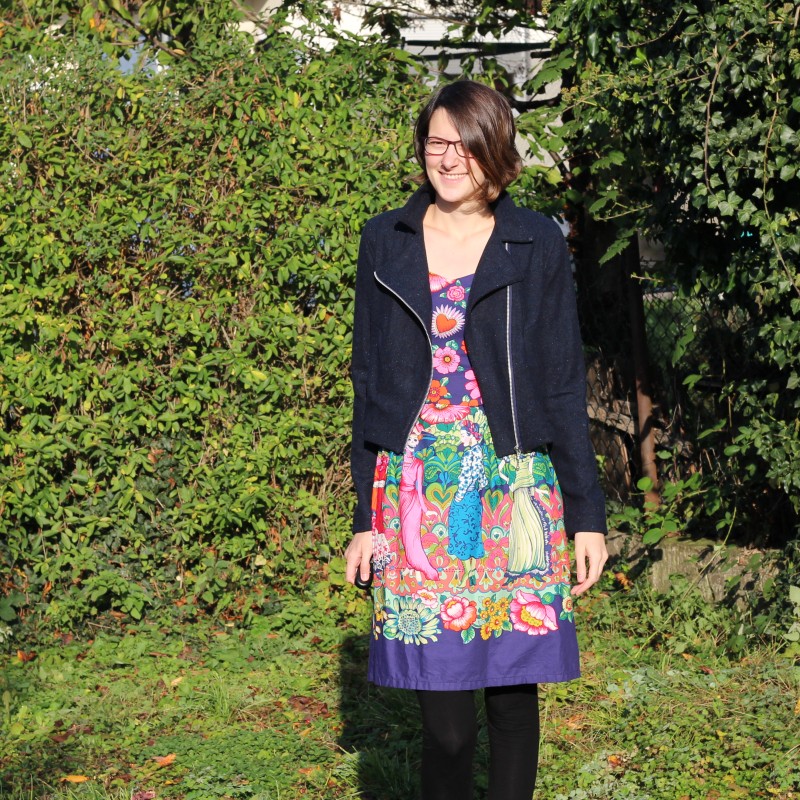
 Last time I visited my favorite fabric shop in Moers summer was about to start and all the winter fabrics were on sale. So I found this navy blue wool fabric that has little light blue cotton dots on it. I don’t remember how much it actually cost, but it was less than 10 €/m. And as I only wanted 1 m and there were 1,5 m left of the fabric I got 1,5 m for the price of 1 m. You see, it has a reason why this is my favorite shop ;) Initially I wanted to make a skirt from the fabric, but now that I had 1,5 m I changed my plans and made a jacket.
I didn’t know what pattern to use until I saw Sandra’s version of the MakeMyLemonade Perfetto Mona Jacket. You can download the pattern for free from the website I linked. I didn’t hesitate long and printed the pattern. As Sandra has mentioned it is a little hard to assemble the pattern. It is printed on A4 pages and there is no hint as to how the pages go together. Not even little markings. So I spent some time puzzling the pages together. It was a little tedious, but it worked out. And if you want to avoid that kind of work you can also buy the pattern already printed.


1 cm seam allowances are included in the pattern (phew!), my French was good enough to understand that much ;) I did however have problems understanding what is said in the tutorial video, which you can find by clicking on the link above. But I saw how the pieces are meant to be put together, even though everything goes really fast in the video. At least it seamed very fast to me as someone who isn’t fluent in French.

Next thing I did was looking out for a sizing chart. You can find it here. My bust measurement suggested I should go with size 36, which I did. Again cutting out my size was a little tedious as the size is not always printed next to the lines on every pattern piece. But the styles of the lines are different fore each size and as I went with the smallest size this didn’t take me that much to figure out.


Then I lengthened everything, as usual. I rememberer to lengthen the body by 5 cm, so that I wouldn’t have to shorten the zipper. On the pattern page it is said that you’ll need a 40 cm zipper. So I used a 45 cm zipper, only to find out, that in fact you’ll need an at least 40 cm long zipper that you will have to shorten one way or the other. The video explains how it is done. However I didn’t see the step were you somehow make sure, that the zipper stops at the upper end. Because the metal thingy that usually does that job is cut off. So what I did was sew a little back and forth just underneath the top teeth of the zipper. I also prevented the zipper plastic fabric from fraying. By fire! Hahahaha! What fun!

Before cutting into my fabric I made a muslin. That was a good idea as the sleeves were way too tight for me. I wasn’t able to bend my elbows all the way. So I widened them from the upper arm to the wrist, so that they were 5 cm wider at the wrist than before (I slashed the sleeve down the middle and “inserted” a triangle). I didn’t see any other issues on the muslin.
And I was ready to cut into my fabric and start the sewing :) oh, what fun :) Watching the video one time enabled me to assemble the body pretty quickly, really wasn’t that hard. I didn’t want to line the jacket, so I finished all the seam allowances by wrapping them in store bought bias tape. I hemmed the body by hand and also attached the facings to the jacket by hand only to find out when I first tried the jacket on that it was waaaay too big on me. Why didn’t I just try it on earlier? Well I had so much fun with the assembly and I made a muslin and thought it would be fine. My mistake was, that I didn’t mark the zipper position on the muslin, I just checked the side seams, if they were in the right position. Oh well. Additionally I now noticed that the bust darts were way too high, even though I already lowered them by 1cm, which is the usual amount for me. So I ripped all the hand stitches and seam finished back out. I lowered the bust darts by 4 cm (!!) and took out 14 cm of the jackets perimeter at the waist and finished everything a second time.

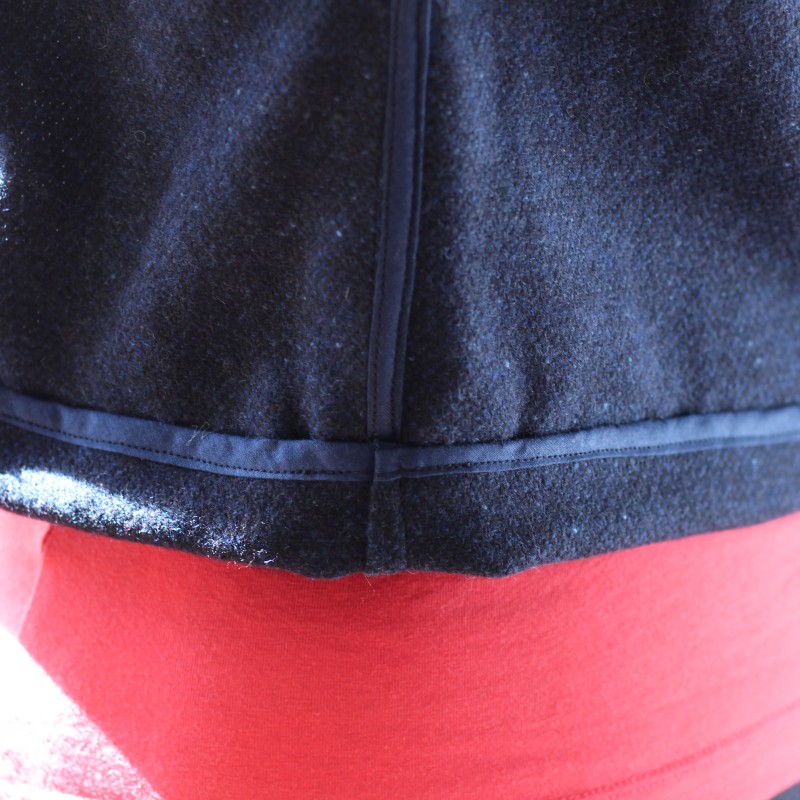
I was able to repair everything and fix it back up again, however the hem bias binding now has a seam at the sides. But I can live with that. I promised myself to be more thorough next time I do a muslin. And to try a garment on before finishing the hems. I’m glad I did the muslin though. I wouldn’t have been able to correct the too tight sleeves once they were cut out.
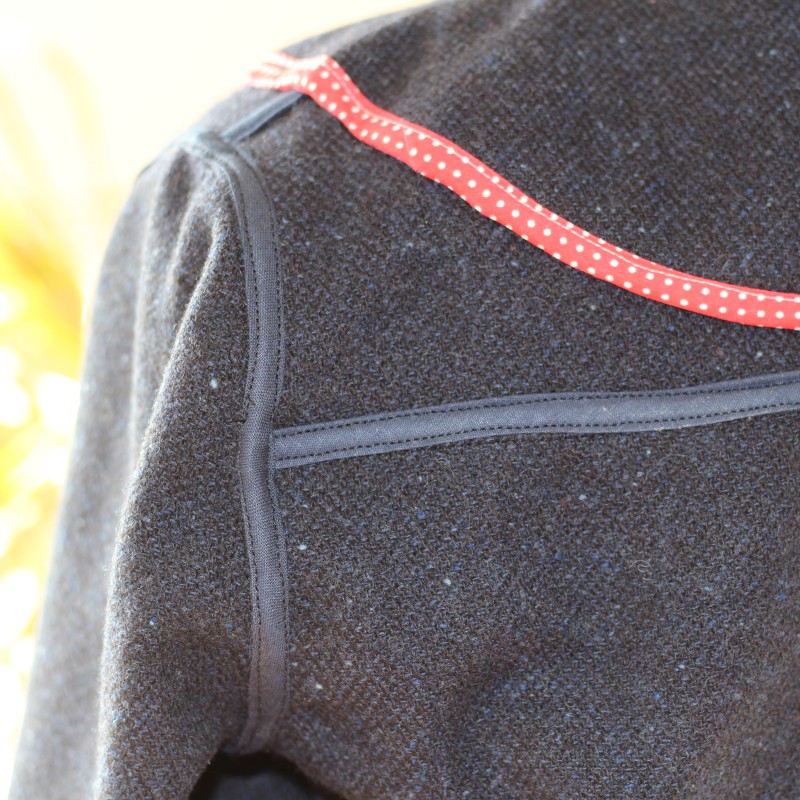
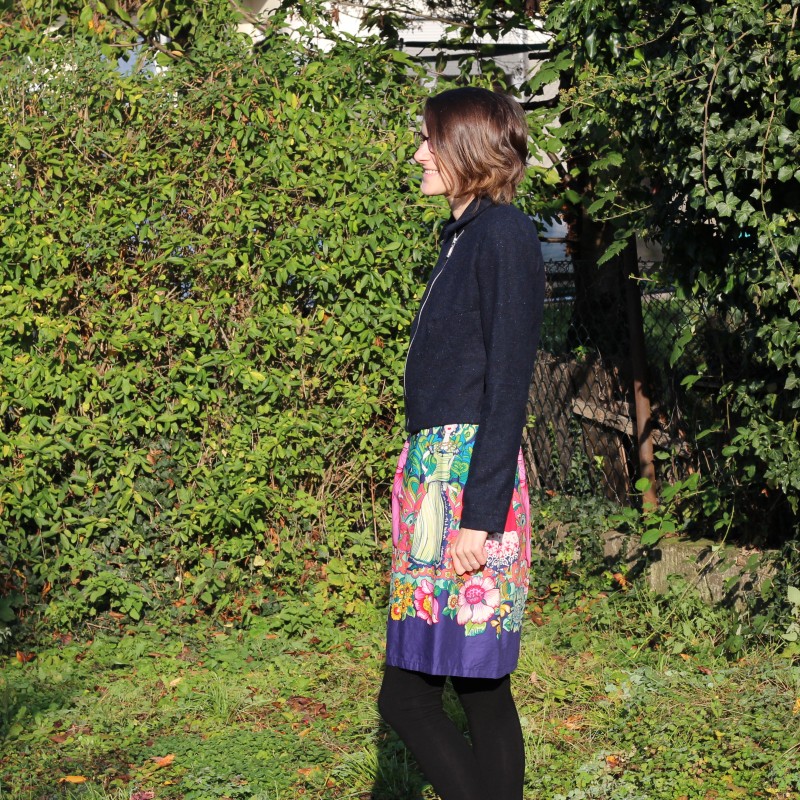
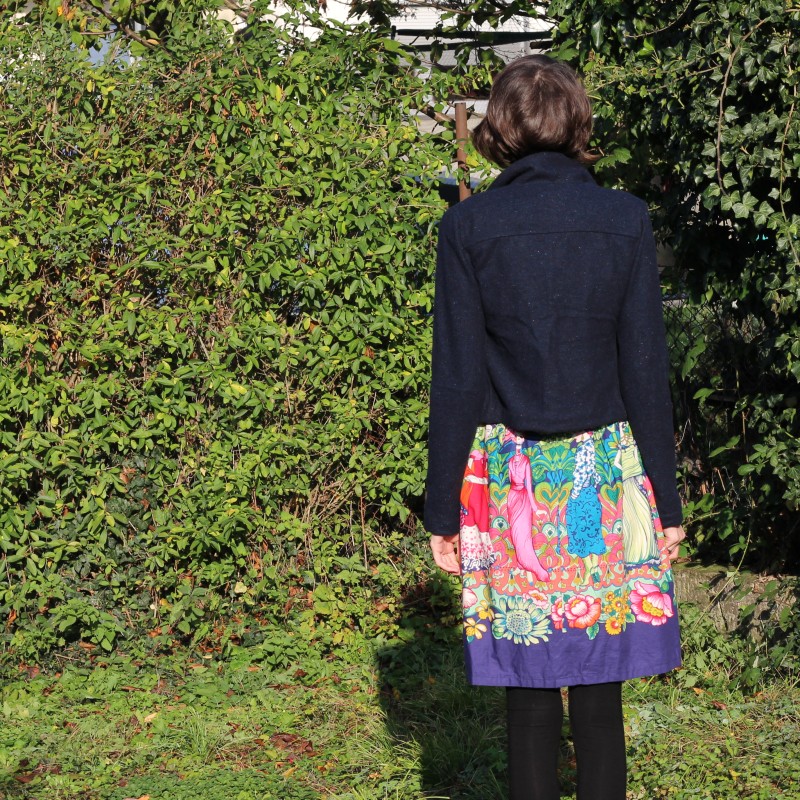
Apropos sleeves: they still are a little tight. It is a little unbelievable to me that someone could have fitted into this jacket without alterations. It must be someone with a huge belly, but very thin arms, haha. Oh and this was the first time I topstitched a sleeve seam. I always thought it was impossible, but people told me that it is not. It was hard, as the sleeves are so narrow and long, but I managed. I started sewing from the top as far as I could get and then started from the hem until I had reached the position where I had stopped when sewing from the top down.

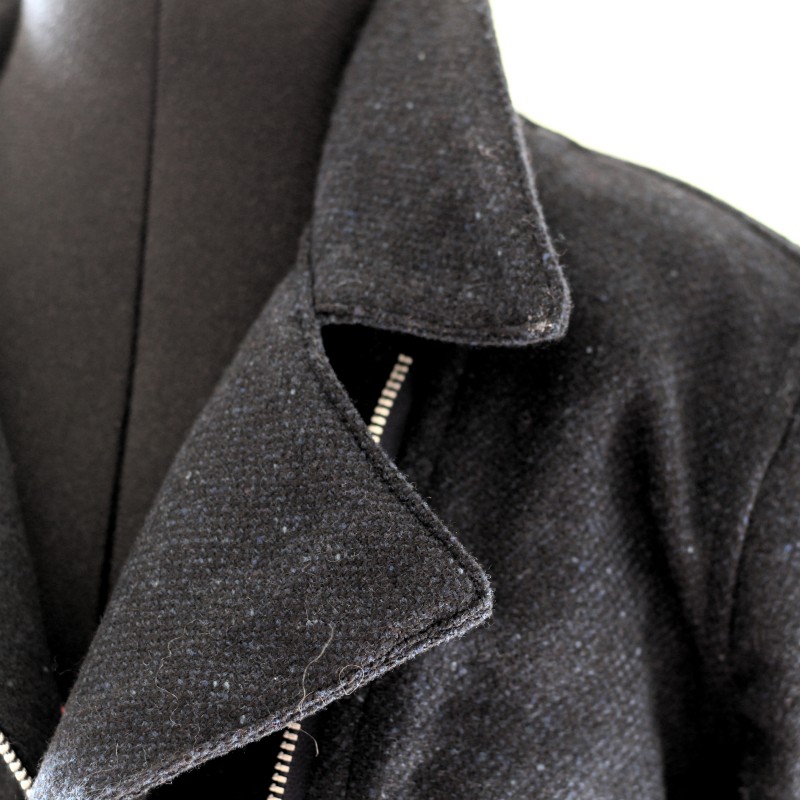
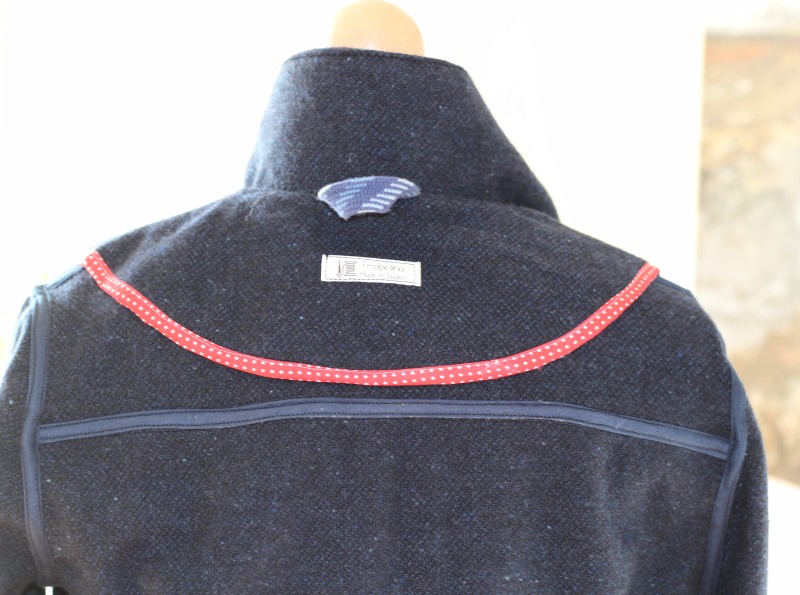
I reinforced the collar and the facings with some light interfacing. My fabric wasn’t that stiff and I like how it turned out!

The original pattern has you install some metal snaps (at least I think they are snaps, my French is not good enough to know what snaps are in French). I decided not to install them. Maybe I will in the future, but for now I’m good :)
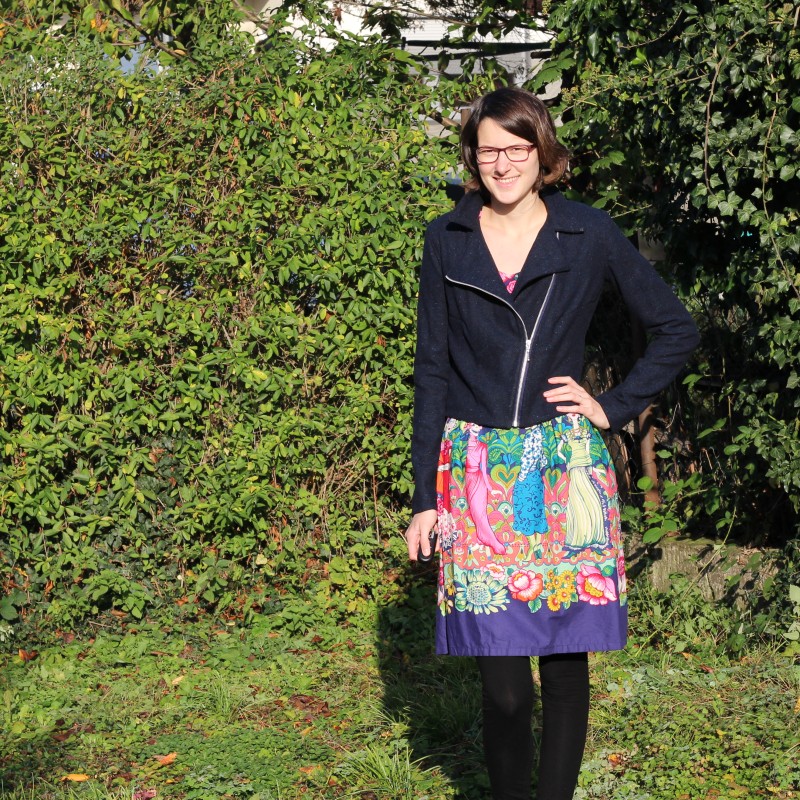
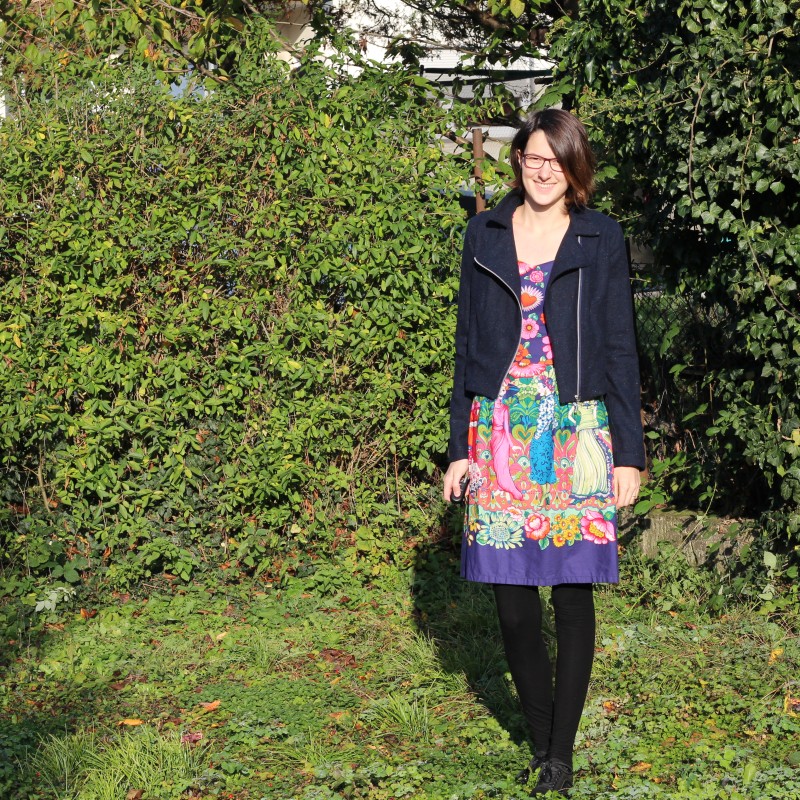
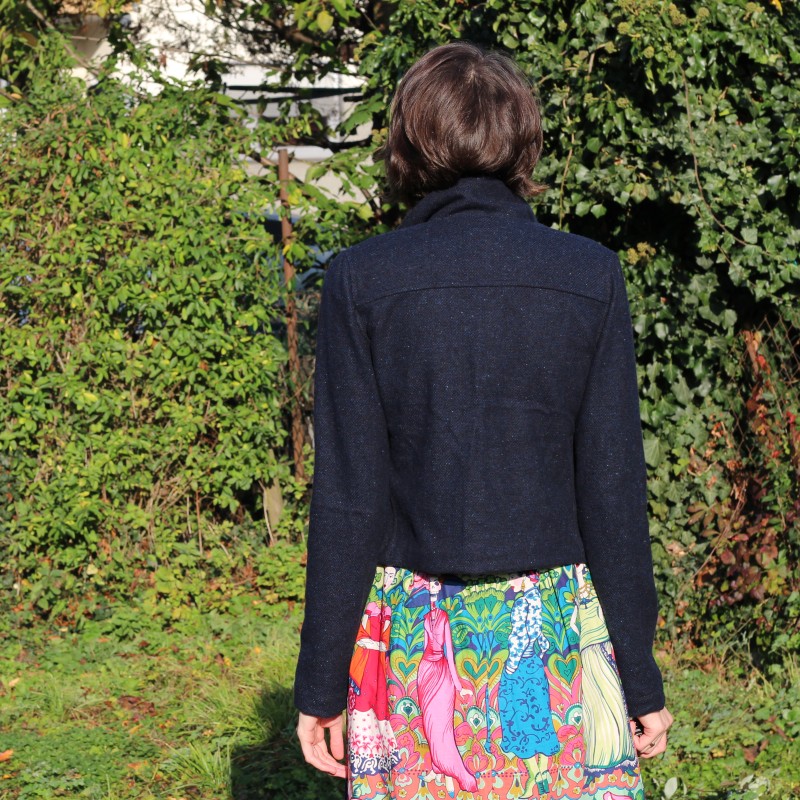
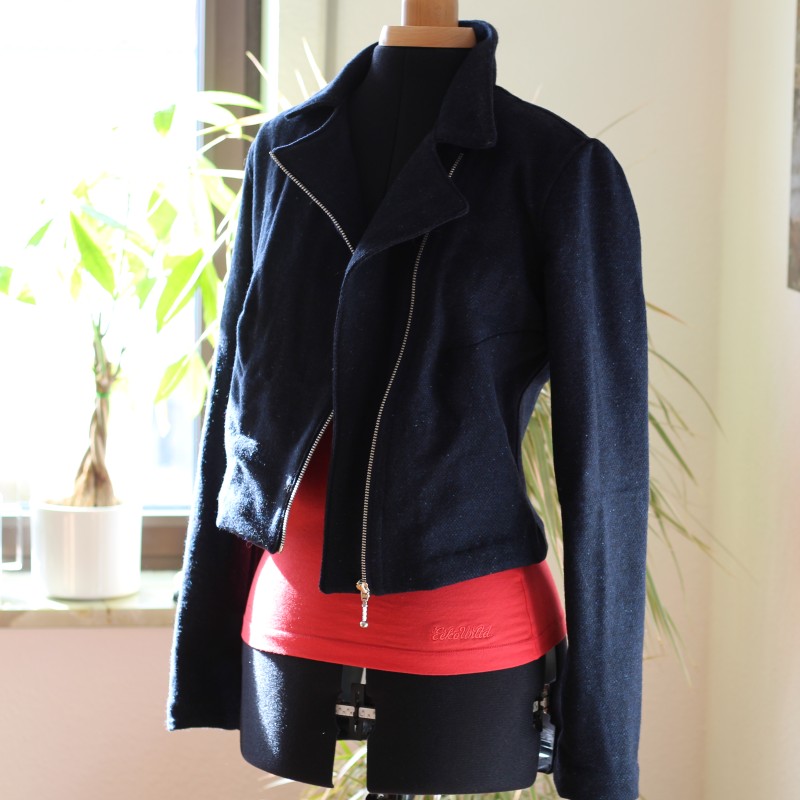
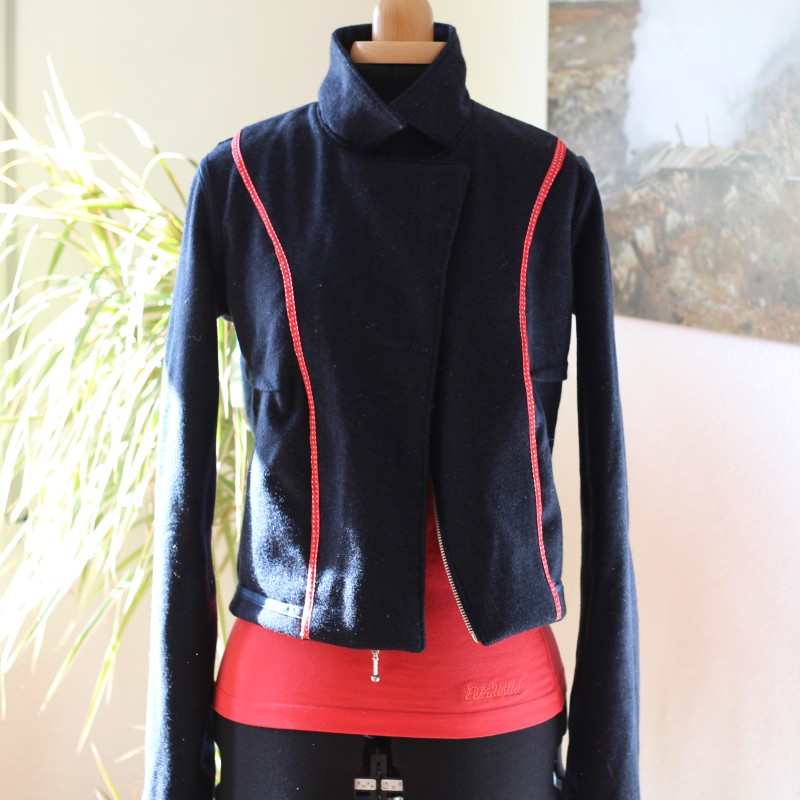
As you can see the length of the jacket is great to wear with high waisted skirts and dresses. And it has a color that goes with a lot of my clothes. I hope it is warm enough to wear it at least another month, until the time comes were you really want your butt to be covered by some extra layers of fabric :) If it turns out that the jacket is in fact not warm enough to wear in November, I think I will wear it inside and make myself another lined version. I really like the finished jacket! I think the wool fabric looks pretty cool made into a biker jacket and I’m a fan of that asymmetrical zipper. Next time I think I will try to shorten or lengthen the jacket or the right front just a bit, so that I don’t have to shorten the zipper. And when I decide to apply a lining, I will definitely have to widen the sleeves a little more.
But for no I’m happy with this jacket and I wish y’all a happy Wednesday :)
Macht’s gut!
Katharina
This jacket looks so cool. I love the biker style too. Your dress is such an unusual fabric so pretty!
Thank you Caroline! It is a Micheal Miller fabric with Frida Kahlo on it :) I’ve written about the dress here.
You have done really well with this jacket. I went off and checked it out but the French has put me off a bit. I am looking for a nice moto jacket though so will consider it for next winter. I love the look of this on you, but then again, everything you make looks great on you.
Awww thanks Sue :) Give the jaket a try, it is totally feasible without knowing too much french :)
Love!! Such a great look, particularly paired with your pretty dress. :)